You are writing an email, or a game is running — and suddenly the whole screen turns blue. “Your device ran into a problem and needs to restart.” A percentage counter underneath, a sad smiley and an inconspicuous line with a stop code. Before you manage to read it, the computer restarts and acts as if nothing happened.
If it happens once a year, let it go. When it repeats every week — or several times a day — the computer is telling you something. And the stop code is the sentence it is telling you in.
Quick answer: Photograph the whole blue screen (black on newer Windows 11 builds) — the stop code and the “What failed” line, if it is there. The code is a lead, not a diagnosis: MEMORY_MANAGEMENT most often points at system memory, CRITICAL_PROCESS_DIED at drivers, corrupted system files or the drive, WHEA_UNCORRECTABLE_ERROR at hardware — overheating, power delivery, an unstable overclock. Before you start fixing or reinstalling anything, back up your data. Repeated crashes usually have a cause that will not fix itself.
A blue screen is not a verdict, it is a report
The Windows kernel stops the moment it hits a state in which it cannot safely continue — for instance when a driver writes into someone else’s memory, or the processor reports an error that cannot be corrected. The emergency stop protects the data on the drive: better a crash now than silent destruction of the file system while it runs. As it stops, the system saves a memory dump and writes a stop code on the screen.
Incidentally, the colour does not matter. Newer Windows 11 builds show the same screen in black and without a QR code — the content and the meaning of the stop code stay the same.
One thing up front: this article is about a computer that boots normally and crashes only while running. If the blue screen already appears during startup and you cannot get into Windows at all, or the system keeps looping through automatic repair, that is a different situation with different risks — we cover it in the article Windows 11 won’t start: automatic repair and the blue screen.
How to capture the code when the screen disappears in seconds
By default Windows restarts itself after a crash — and the code disappears with it. Turn that off: Settings → System → About → Advanced system settings → Advanced tab → Startup and Recovery → Settings and untick Automatically restart. The next blue screen will stay put until you photograph it.
You can also get to the codes retrospectively, without waiting for another crash:
- Reliability Monitor (type the name into the Start search) shows a timeline with red crosses. For each critical day you will see what crashed and with which code — and, crucially, whether the crashes started on the same day as some installation or update.
- Event Viewer logs every crash as a BugCheck event with ID 1001, including its parameters. If instead of a BugCheck you only find a critical Kernel-Power 41 event with no stop code, the computer did not shut down because of a system error — it simply lost power, which points at the power supply, overheating or the button.
- The C:\Windows\Minidump folder holds the dumps of individual crashes. There is not much you can do with them yourself, but for a technician they are the most valuable files on the whole computer — bring them along, or at the very least do not delete them.
Note down two more things: how often it crashes and what you are doing when it does. “Once a week while gaming” and “three times a day doing anything” are two completely different stories.
MEMORY_MANAGEMENT: the first suspect is system memory
The code says something went wrong in memory management — the system found different data in RAM than it had put there itself. The most common cause really is a faulty memory module. Right behind it comes an unstable XMP/EXPO profile (the factory memory overclock you enable with a single click in UEFI), and only then drivers or a page file on a dying drive.
What to test at home:
- Windows Memory Diagnostic — press Win+R, type
mdsched.exeand choose “Restart now and check for problems”. A basic, quick test. - MemTest86 from a USB stick — more thorough and more conclusive. Let it run overnight, at least four passes. Memory that survives one quick round can fail on the fifth.
- Test one module at a time. If you have two or more modules, test them individually — that way you find the specific faulty stick and can keep working on the other one in the meantime.
- Disable XMP/EXPO in UEFI and watch for a week. If the crashes disappear, the memory is not running stably at its profiled speed — sometimes a BIOS update helps, sometimes the answer is to leave the profile off.
With RAM the tolerance is zero: a single error in the test means the module is out. Memory does not get to “sort of work” — every error means data is being quietly corrupted, even when the system is not crashing.
CRITICAL_PROCESS_DIED: drivers and system files
This code reports that a process Windows cannot run without has ended. Anything could have killed it, from corrupted system files through a bad driver to a drive that stopped responding. Of the three codes it is the least specific — which makes it all the more important to look at what changed just before the crashes started: a Windows update, a new graphics driver, a freshly installed antivirus or VPN client with its network filters.
The home procedure, safest step first:
- Check the system files. Open Terminal as administrator and run
sfc /scannow. If it reports errors it cannot repair, follow up withDISM /Online /Cleanup-Image /RestoreHealthand runsfcagain. - Roll back the last driver. In Device Manager find the most recently updated device (usually the graphics card) → Properties → Driver tab → Roll Back Driver.
- Uninstall the latest Windows update if the crashes started immediately after it — Settings → Windows Update → Update history → Uninstall updates.
- Check the drive’s health. CRITICAL_PROCESS_DIED is often the first visible symptom of an SSD on its way out. How to spot a failure, and why that is the moment to stop experimenting, is covered in the article An SSD is dying: symptoms of failure.
One warning: the internet classic chkdsk /f is deliberately missing from this list. On a physically failing drive, a repair write can make the damage worse. Check the drive’s condition first, repair second.
WHEA_UNCORRECTABLE_ERROR: the hardware is calling for help
WHEA stands for Windows Hardware Error Architecture — the channel through which hardware reports its errors to the system. So this code does not mean “Windows broke”, it means “the processor reported an error that could not be corrected”. Of all three codes, it points at the metal most strongly.
The suspects, in the usual order:
- Overheating. A clogged heatsink and dried-out thermal paste leave the processor working right at the edge; under load, the crash arrives. The typical pattern: it crashes during games or rendering, never while browsing. How overheating shows up and how it is dealt with is covered in the article a laptop or desktop PC overheats and shuts itself down — professional cleaning with a thermal paste replacement starts at roughly 1,794 CZK.
- Overclocking and undervolting. Anything outside factory values — a CPU overclock, an undervolted laptop, XMP — set it back to default and watch.
- A failing power supply. An ageing PSU cannot hold voltage under peak load. The picture also fits the case where the computer shuts down outright instead of showing a blue screen.
- Motherboard or processor. The hardest pair to diagnose — the symptoms tend to be erratic and are difficult to confirm with home means. The clues are summed up in the article how to spot a faulty motherboard.
At home it makes sense to measure temperatures under load, blow out the dust and return clock speeds to default. We do not recommend replacing the power supply “blind” or baking the board according to video tutorials — at this point measurement at a workshop is cheaper than buying parts by trial and error.
A quick map of other common codes
| Stop code | Most common suspects |
|---|---|
| IRQL_NOT_LESS_OR_EQUAL | driver, system memory |
| PAGE_FAULT_IN_NONPAGED_AREA | RAM, driver, drive |
| SYSTEM_SERVICE_EXCEPTION | driver, corrupted system files |
| VIDEO_TDR_FAILURE | graphics driver, graphics card |
| KERNEL_SECURITY_CHECK_FAILURE | driver, RAM |
| UNEXPECTED_STORE_EXCEPTION | drive, usually a failing SSD |
The pattern repeats: almost every code has both a driver and a piece of hardware among its suspects. That is why the code alone is not enough — it only becomes meaningful in combination with when and how often the computer crashes.
The home procedure, simplest step first
- Photograph the screen, note down how often the crashes happen and what you are doing when they do.
- Back up your data. Repeated crashes and repair experiments are exactly the situation in which even people whose drive never failed end up losing files. How to do it simply and reliably is described in the 3-2-1 backup rule.
- Go through Windows Update including optional driver updates; for the graphics card, download the driver straight from the manufacturer.
- Run
sfc /scannow, and follow up with DISM if needed. - Test the RAM — overnight, one module at a time.
- Measure temperatures under load and blow out the dust.
- Undo the most recent changes: a new program with system filters, freshly added RAM, an overclock.
If the crashes disappear after one of the steps, you have your culprit. If they do not — or if the codes keep changing one after another — read on.
When to stop dealing with it at home
Alternating stop codes are the classic signature of a hardware problem: faulty RAM, a failing power supply or a dying drive can produce MEMORY_MANAGEMENT, CRITICAL_PROCESS_DIED and IRQL in any order within a single week. Home tools reach their limit here — memtest will not reveal a power supply that collapses only under peak load, and a motherboard cannot be properly measured at home at all.
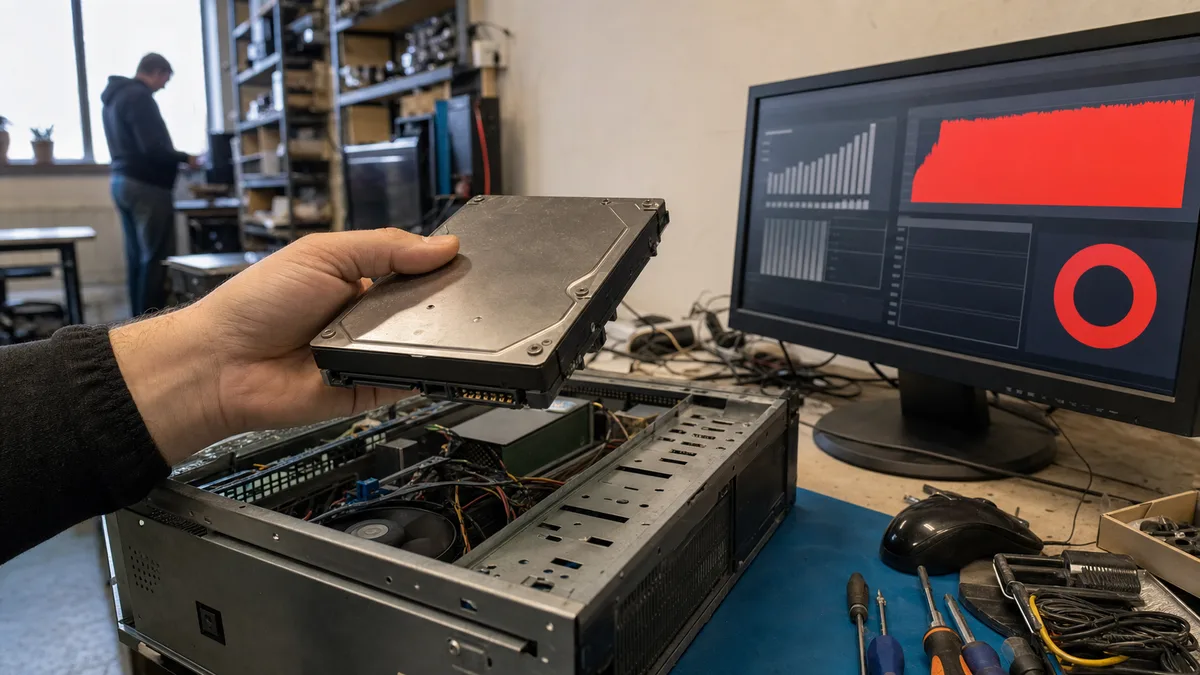
At a workshop the computer is stressed deliberately: memory, drive, power delivery and temperatures under controlled load, plus a reading of your minidumps. The result is the name of a specific part, not another tip to try. Diagnostics in Brno costs 600 CZK, and only if no repair is carried out — when we do the repair, it is covered within the job. You will find repair prices in our price list.
And if you do not fancy spending your evenings with memtest and temperature readings, skip the home routine altogether: order diagnostics online, bring the computer along with a note on when and how it crashes, and we will deliver an answer instead of more guesswork. A recurring blue screen is not a cosmetic flaw — it is the last warning before data starts to disappear.
Rather not deal with it yourself?
Book a diagnosis in Brno — you get the price up front and we start only once you agree.
Where to find us
We are a PC and laptop repair shop in Brno-Židenice: diagnostics and repairs of computers and laptops, data recovery from drives, and out-of-warranty Apple repairs (iPhone 12 and newer, MacBook, iPad).
Viniční 3587/216, 615 00 Brno-Židenice, Czech Republic Mon–Fri 10:00–16:00
Call +420 774 777 774 Computer repair and laptop service in Brno
We put the repair price in writing after diagnostics and carry on only once you agree.