You open File Explorer, click Network—and the NAS is not there. Photos from the past ten years, scanned contracts, backups of two laptops. Yet the device is lit up, and its fan is spinning just like any other day.
The first instinct is to restart everything. The NAS, then the router, then the computer. Sometimes that helps. Sometimes it erases clues about what actually happened—and in the worst case, it spins up a drive that should have remained stopped.
The word “disappeared” actually covers three completely different failures. The NAS did not receive an address. Or it has an address but will not let you access its shared folders. Or a drive has failed, and the network has nothing to do with it.
The short answer: First determine exactly what has disappeared. Are the LEDs on and the LAN indicator flashing? Then track down the IP address—find it in the router’s DHCP client list or with the manufacturer’s tool (Synology Assistant or Qfinder Pro), and enter
\\192.168.1.87\photodirectly in File Explorer. If the NAS administration interface opens and only the shared folders are unavailable, the problem is with SMB, permissions, or Windows—not a broken NAS. But as soon as Storage Manager reports Degraded, Read-only, or Crashed, stop troubleshooting the network: further restarts and wizards offering Repair, Initialize, or Create pool can destroy what remains of the data. And never reset a NAS simply because you do not know its address.
First, determine what has actually disappeared
| What you see | Most likely cause |
|---|---|
| The NAS has no lights, the fan does not spin, and the drives do not start | power supply—the outlet, extension lead, UPS, power adapter, or NAS power supply |
| The NAS is running, but nothing flashes at the LAN port | cable, router or switch port, or the NAS network interface |
| The manufacturer’s tool finds the NAS, but at a different address | IP address changed through DHCP, typically after restarting or replacing the router |
| Administration works through the IP address, but shared folders do not | SMB, permissions, the NAS firewall, or Windows settings |
| Administration works, but the volume reports Degraded, Read-only, or Crashed | drives, RAID, or the file system—the network is unrelated |
This distinction saves half an hour of blind restarts. More importantly, it prevents someone from clicking through a wizard during an ordinary network fault only to be offered the creation of a new volume at the end.
Before pressing any buttons: spend five minutes taking notes
Write down the NAS model, which LEDs are lit and in what color, whether the device is beeping, and above all what changed immediately beforehand: a new router or mesh system, a power outage, a DSM or QTS update, a Windows update, reconnected cables, or a replaced drive. Photograph the order of the drives in their bays. Do not remove them, and certainly do not swap them around.
Two situations change the procedure immediately:
- A drive is clicking, or the NAS reports several failed drives at once. Stop restarting it. Every additional spin-up of a mechanically failing drive and every automatically triggered rebuild can make the situation worse.
- A firmware update is currently running. Do not disconnect the power while the NAS is clearly working. Interrupting a firmware write can turn a network problem into a brick. The only exception is smoke, a burning smell, or an unusual mechanical sound—in that case, disconnect the power.
Power, cable, and port: the quickest way to rule out hardware
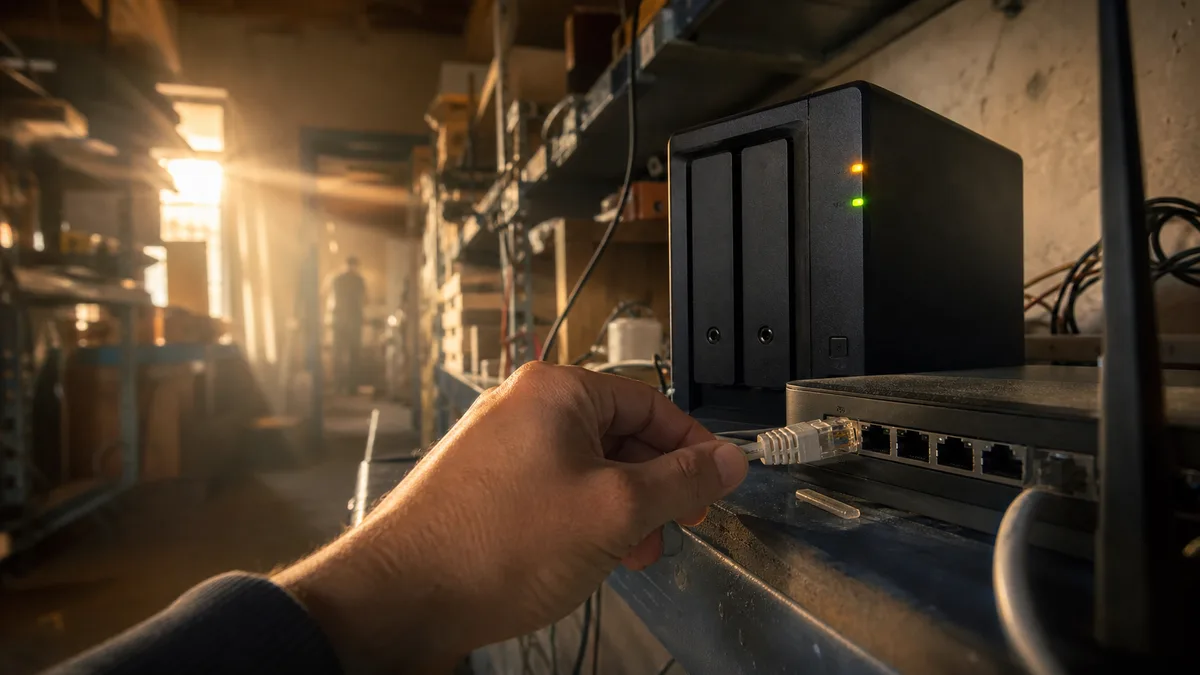
Check the LED by the NAS Ethernet connector and the corresponding port on the router or switch. If both sides are dark, no physical link has been established. Replace the cable with one known to work and use a different port. Do not change the cable, switch, and settings all at once, or you will never know what caused the problem.
After a power outage, also check the entire path to the outlet: the extension lead, UPS, and any switched power strip. One regularly overlooked detail is that Synology includes an option in Control Panel under Hardware & Power to start automatically after power is restored. If it is disabled, the NAS simply remains off after an outage and waits for someone to press the button.
At home, a NAS is often tucked behind a cabinet and connected through a small five-port switch. The internet may continue working normally while the NAS remains unavailable because that switch is off, its power adapter has failed, or its uplink cable has been disconnected.
Mesh networks, guest Wi-Fi, and a second subnet
In homes, this is the most common reason a device “disappears” even though nothing has happened to it. The computer and NAS must be on the same local network—otherwise they simply cannot see each other, even when both are working.
- A new mesh system operating as a router. A system such as Deco, Nest Wifi, or Orbi connected behind the ISP’s router creates a second subnet. The NAS remains wired to the old router while the laptop connects to the new Wi-Fi, with NAT between them. The solution is to switch the mesh to access point (bridge) mode or reconnect the NAS behind the mesh.
- Guest Wi-Fi and client isolation. These are specifically designed to prevent devices from seeing one another. They also block the broadcast traffic used by manufacturers’ discovery tools.
- A decisive test: connect the laptop by cable to the same router or switch as the NAS. If you can see it from there, the NAS is fine and the network segmentation is the problem. We cover the broader procedure in our article on troubleshooting Wi-Fi problems.
When the problem is not the device but the network, Wi-Fi and home network service handles it. A related step is data recovery in Brno.
When the IP address has changed
Start in the router’s administration interface, in the list of connected devices or DHCP clients. You can identify the NAS by its name (Synology typically appears as DiskStation, while QNAP uses NAS followed by six characters from the MAC address) or by the MAC address printed on the label at the back. After the router restarted, the address may have changed from 192.168.1.20 to 192.168.1.87, leaving the old desktop shortcut pointing nowhere.
The manufacturer’s tools use broadcast traffic on the local network, so run them from a computer on the same network:
- Synology Assistant (a desktop application) can find the NAS even if it received no address from DHCP and assigned itself a fallback address in the
169.254.x.xrange. - Web Assistant at
find.synology.comis more convenient, but it works through Synology’s servers—the NAS therefore needs a route to the internet. Without one, it will show nothing even if the device is operating normally on the local network. - Qfinder Pro does the same for QNAP devices. Neither tool can bypass guest Wi-Fi or a separate VLAN.
You can test a known address with ping 192.168.1.87, but failure proves nothing—ICMP may be blocked. A more accurate test in PowerShell is Test-NetConnection 192.168.1.87 -Port 445, which checks the file-sharing port directly. Try the administration interface at http://192.168.1.87:5000 for DSM; QNAP commonly uses http://192.168.1.87:8080 by default.
Once you find the NAS, create a DHCP reservation in the router based on its MAC address. For a home network, this is safer than configuring a static address on the NAS itself: after replacing the router, a static address may remain stuck on a different subnet, making the device “disappear” even though it is running perfectly.
The NAS responds, but Windows cannot see it
Enter \\192.168.1.87\photo directly in the File Explorer address bar, replacing the folder name as appropriate. Does it open? If so, SMB and the data are working, and only automatic discovery has failed. These are the things to fix:
- Network profile. Windows must classify the home network as Private; otherwise, network discovery is intentionally disabled.
- Discovery services. Function Discovery Provider Host and Function Discovery Resource Publication may switch to manual startup after certain updates, leaving the Network section empty.
- Missing SMB 1. Since Windows 10 version 1709, SMB 1 is not installed, and the Computer Browser service on which the old form of network browsing relied disappeared with it. An older NAS may therefore be absent from the list even though it works. Do not reinstall SMB 1—it is disabled because of vulnerabilities exploited by WannaCry in 2017, and a direct IP path works without it.
- Old credentials. If you changed the NAS password, Windows may retain the old one in Credential Manager and reject the connection. Delete the saved entry or remove the mapping with
net use * /delete. - A mapped drive pointing to an address that no longer exists. This is the classic cause of error 0x80070035, “The network path was not found,” after an IP address changes.
The recent tightening of SMB security deserves special attention. Windows 11 24H2 requires SMB signing by default and disables insecure guest logons. Shares configured for anonymous access, or NAS devices running old firmware, may therefore stop opening after an update, with Windows reporting that security policies block unauthenticated guest access. The correct approach is to update the NAS firmware, use SMB 2 or 3, and sign in with a username and password—not disable the protection.
One more detail that may look like a fault: if a shared folder opens only on the second attempt after a few seconds of waiting, the NAS drives may simply be hibernating. The application times out while they wake up, even though the NAS itself is healthy.
A special case: a NAS tied to a cloud account
Not every “network storage” device is a full-featured NAS. Devices such as the WD My Cloud Home expose little more than a public folder through SMB; personal storage is accessed through an application and a manufacturer account. If the internet connection or service is unavailable, the local network will not help. For a family photo archive, this is a crucial difference from an ordinary Synology or QNAP, where SMB continues to work without an external connection.
This leads to a second rule: do not expose a NAS to the internet through port forwarding. In 2021, many owners of older WD My Book Live devices lost their content after internet-accessible units were remotely wiped on a large scale, prompting the manufacturer to recommend disconnecting them from the network. Use a VPN or the manufacturer’s service for remote access, not an open port. We discuss what to consider when choosing a device in our article on home NAS systems for photos and films.
After a DSM or QTS update
Before clicking anything, distinguish between four possibilities: the NAS received a different address after restarting, the SMB service did not start, the network interface or default gateway changed, or the update has not yet finished.
Find the device with the manufacturer’s tool and read exactly what it says. Do not automatically click Install, Initialize, Migrate, or Create storage pool. These are not connection-repair buttons; they are options for setting up a new system.
A reset is the very last network troubleshooting step, and the procedure must match the specific model. On Synology, a short reset (Mode 1) returns the network configuration to DHCP and resets the administrator account and firewall; the longer option (Mode 2) reinstalls DSM. On QNAP, the Initialize option in the wizard may erase the drives. Before touching the reset pinhole, make sure you know where the administrator password and encryption keys for shared folders are stored—without them, encrypted data may remain locked after the reset.
When the problem is no longer the network but a drive
Sign in to DSM or QTS and open Storage Manager. A Healthy status and an accessible volume point back toward the network and SMB. A Degraded status means a redundant array is continuing to operate after a drive failure, but with less fault tolerance than before. How much remains depends on the RAID level: with RAID 5, two-drive RAID 1, and SHR with one-drive protection, it is usually exhausted after the first failure, leaving no redundancy to recover from another error. RAID 6 and SHR-2 can withstand two drive failures, while some RAID 10 or multi-drive RAID 1 configurations may retain part of their redundancy—with RAID 10, however, only until a second drive in the same mirrored pair fails. Crashed, Read-only, a missing storage pool, or multiple undetected drives are reasons to stop experimenting.
Do not blindly start Repair, a file-system check, or a new storage pool. A rebuild reads every remaining drive from beginning to end—with modern capacities, this can mean a full day or more under maximum load. That is exactly when a second drive that was already worn may fail. First check the SMART data for every drive, not just the one marked as failed. A growing number of reallocated and pending sectors across several drives means that a rebuild is a gamble, not a repair.
If the NAS contains the only copies of your photos or documents and the array is Crashed, switch it off and have the drives read outside the NAS from sector-by-sector images. We provide this service in Brno—the page on RAID and NAS data recovery explains what to prepare and how the process works. Until then, preserve the drive order and do not write anything to the array.
A replacement drive: a NAS label is not enough
| Product family | Intended use | What to watch out for |
|---|---|---|
| WD Red Plus, WD Red Pro | continuous NAS operation, CMR recording | Plain “WD Red” drives without a suffix in capacities from 2 to 6 TB (EFAX models) were confirmed to use SMR in 2020; CMR versions use EFRX model numbers and are now sold as Red Plus |
| Seagate IronWolf, IronWolf Pro | NAS, CMR | The Pro range is designed for heavier workloads and more bays; choose capacity according to the array configuration, not the discount |
| Toshiba N300 | NAS, CMR | A noisier and hotter option, which you will notice in an enclosed living-room cabinet |
| WD Purple | continuous sequential recording from cameras | Optimized for a different workload than RAID in a NAS |
| Inexpensive SMR drives in general (often 2.5” external drives and the cheapest 3.5” ranges) | backups and archives | Rewriting a previously used area also requires adjacent tracks to be rewritten; during a long rebuild, performance may collapse and the array may eject the drive while recovering |
In addition to capacity and recording technology, check the compatibility list for your specific NAS model. Some newer devices restrict the creation of volumes on unapproved drives, which is an unpleasant discovery once you already have the drive at home. Even choosing the correct product range does not mean you can remove a drive while the NAS is running—the NAS model and the particular configuration must both support hot swapping.
How much diagnostics cost and what the outcome should be
According to the current Servis PC Brno price list, diagnostics when no repair is carried out start at approximately 600 Kč. Basic network setup starts at approximately 1,200 Kč, while an on-site visit within Brno starts at approximately 700 Kč—so an intervention at your home starts at approximately 1,900 Kč. Drives, additional work, and data recovery are priced separately according to the identified condition; the price list on the website is always authoritative.
A proper diagnosis should not end with the sentence “it works after a restart.” The technician should explain exactly what failed—the cable, DHCP, SMB, network segmentation, or storage—record the new address and reservation, verify the share directly from your computer, and warn you about the condition of the drives. Before touching the RAID, they should also distinguish the cost of an ordinary repair from the cost of data recovery.
Preventing the NAS from disappearing again
- Reserve its IP address in the router using the MAC address. Shortcuts and mapped drives will then survive a router restart.
- Enable notifications for failed drives, degraded arrays, and failed backups—and send them to an email address you actually read. The default address entered during the initial setup is often obsolete years later.
- Use a UPS with managed shutdown. Not to keep the NAS running indefinitely, but to give it enough time to shut down correctly.
- Store copies outside the NAS of the configuration export, administrator password, encryption keys, and a photograph showing the order of the drives in their bays.
- Test restoring one folder. A green task icon only says that the job completed, not that the backup is usable.
One sentence bears repeating: RAID is not a backup. Redundancy keeps the system operating when a drive fails, but it does not protect data from deletion, ransomware, or a thief taking the NAS. Family photos and documents need another copy that the NAS itself cannot access—the reasoning behind this setup is explained in our article on the 3-2-1 backup rule.
When you approach the problem calmly, most “missing” NAS devices turn out to have nothing more serious than a changed IP address or a mesh system operating in the wrong mode. A technician can identify the rest from the condition of the storage—and in those cases, the outcome may depend on how many times you tried switching it on again beforehand.
Order online: Wi-Fi and home network — tell us the model and what happens, and we will come back with the next step.
Rather not deal with it yourself?
Book a diagnosis in Brno — you get the price up front and we start only once you agree.
Where to find us
We are a PC and laptop repair shop in Brno-Židenice: diagnostics and repairs of computers and laptops, data recovery from drives, and out-of-warranty Apple repairs (iPhone 12 and newer, MacBook, iPad).
Viniční 3587/216, 615 00 Brno-Židenice, Czech Republic Mon–Fri 10:00–16:00
Call +420 774 777 774 Computer repair and laptop service in Brno
We put the repair price in writing after diagnostics and carry on only once you agree.