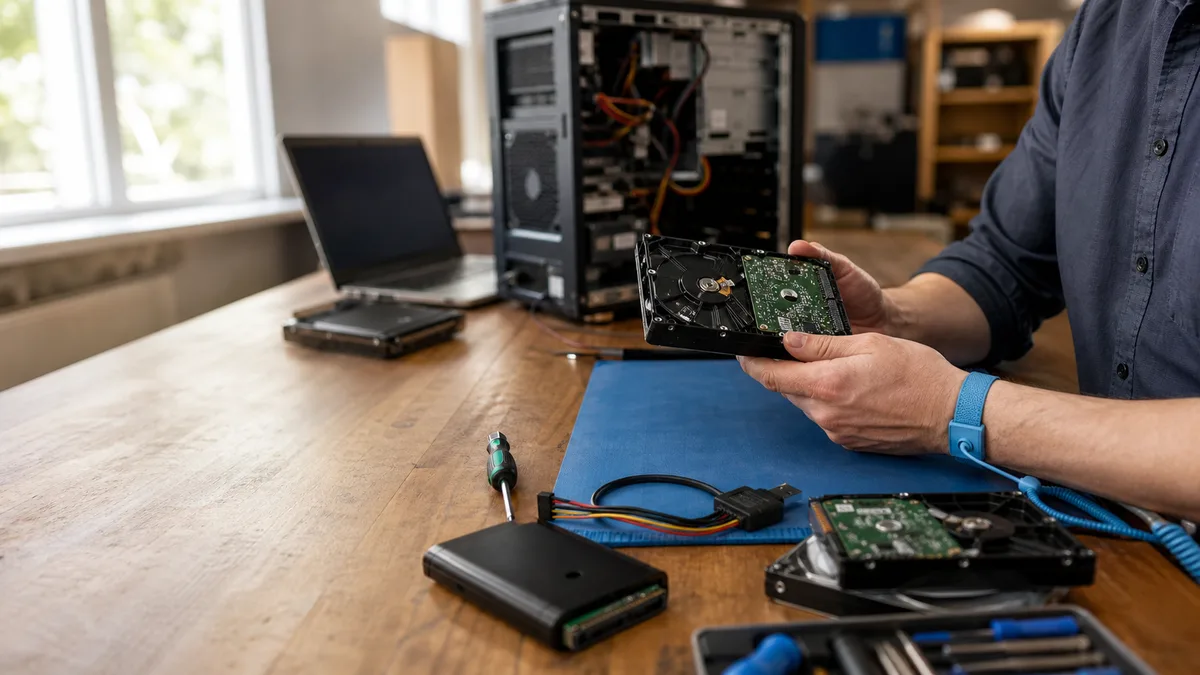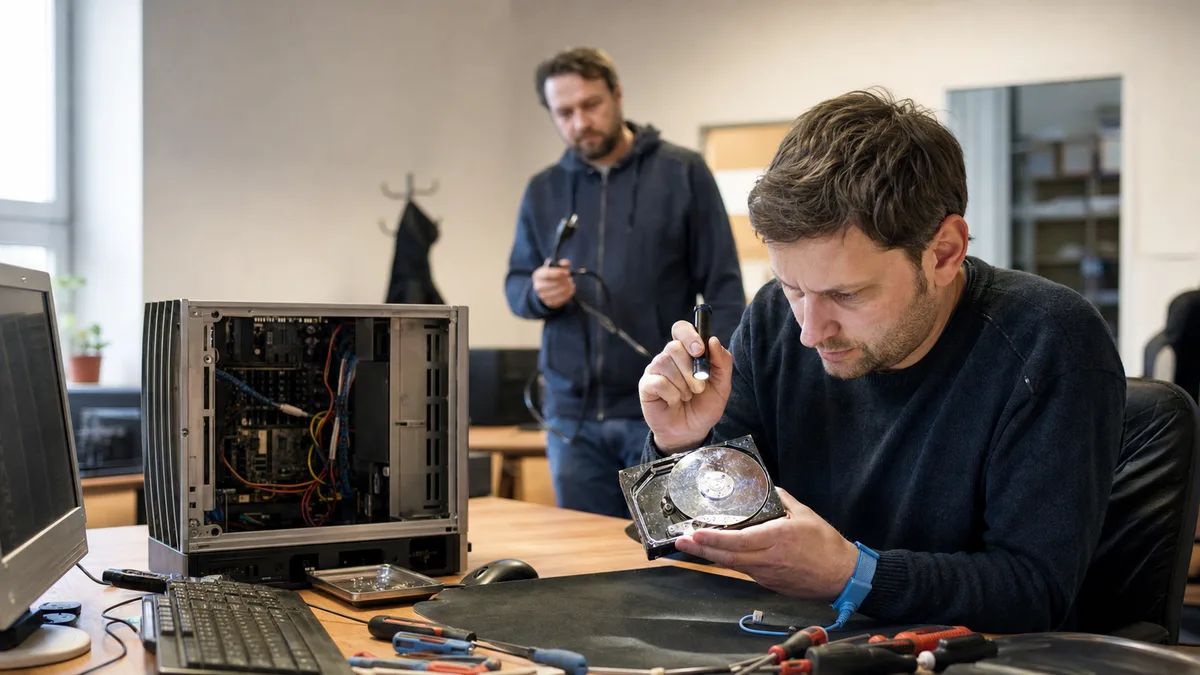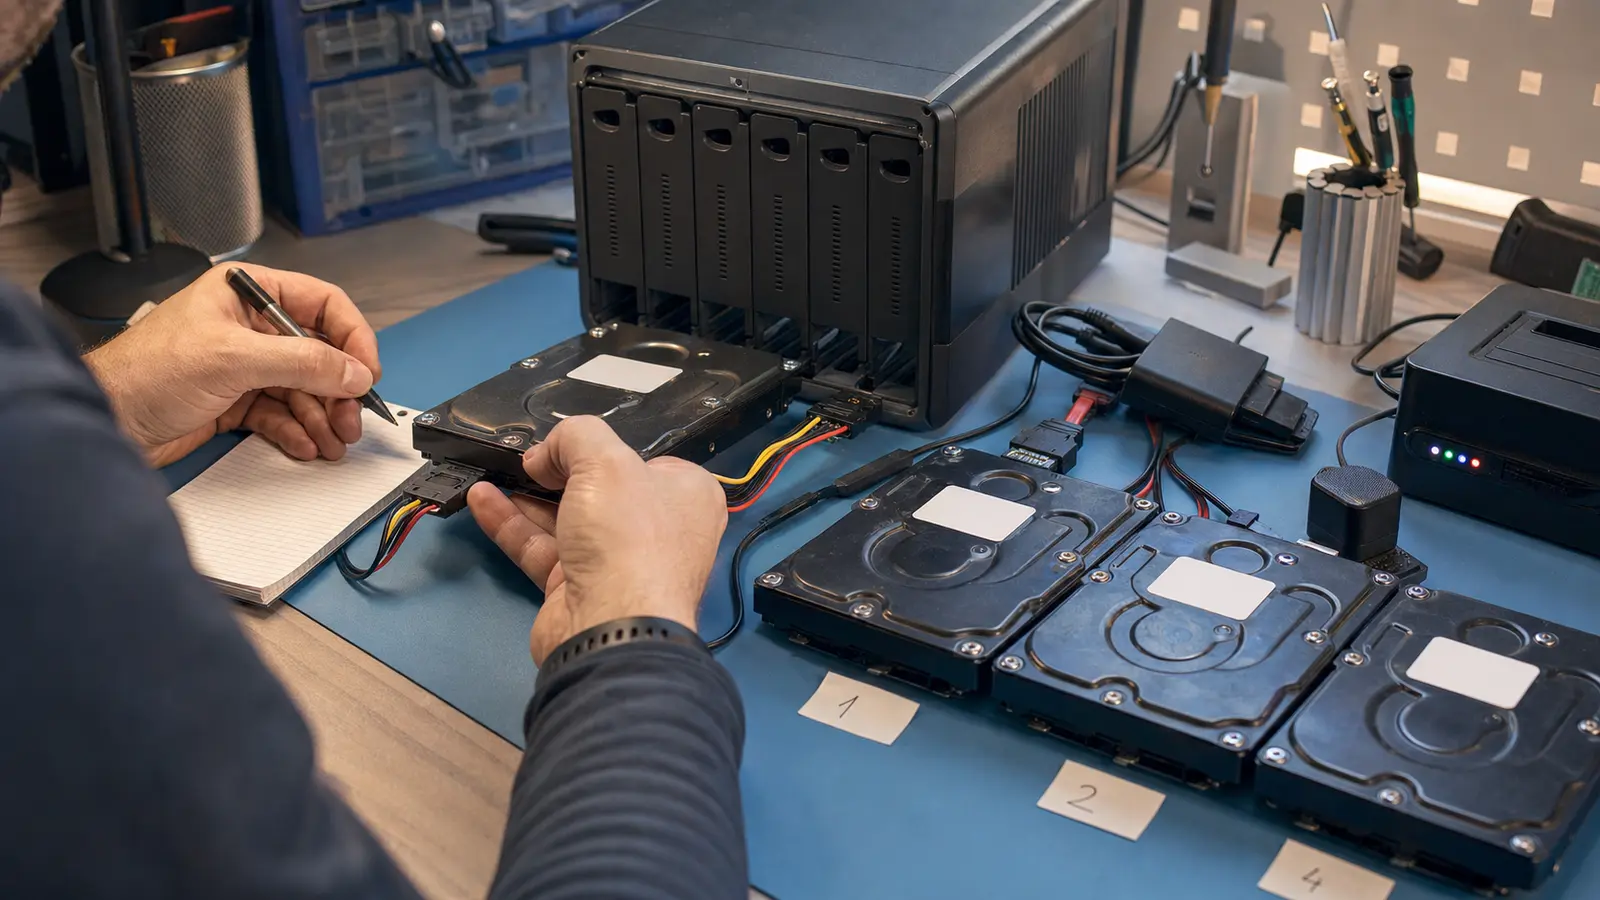
Does your NAS or RAID array report degraded or crashed while your company data has disappeared? Degraded means that the array has lost its safety margin, while Crashed means that it cannot reassemble itself—neither status necessarily means that the data is gone. Do not start a rebuild or replace a drive: when the cause of a failure is unclear, data should be recovered from disk images rather than by modifying the original array. The NAS is flashing red, beeping, and your first instinct may be to click “Repair.” That is exactly how an ordinary hardware failure often becomes permanent data loss—the greatest damage is usually caused not by the initial drive failure, but by a rushed DIY attempt. This article explains what the different statuses mean and what you must avoid at all costs.
Quick verdict
- STOP signs: a drive is clicking, grinding, squealing, or smells burnt → switch it off immediately and do not test it again. Every further attempt may make its condition worse.
- Do not start a blind rebuild: if you do not know exactly what happened—for example, two drives dropped out of RAID 5—a rebuild may overwrite metadata and parity.
- Images first: create a disk image of every drive on healthy media. Always work with the images, never the originals.
- When the chances are good: the drives are readable and only the configuration has fallen apart, or the array is
degradedbut the data remains accessible.
ITHOPE handles data recovery
Servis PC Brno does not reconstruct arrays or recover data—this website explains what is happening. Failed arrays are reconstructed from disk images by the ITHOPE s.r.o. laboratory, which operates Servis PC Brno: RAID array data recovery, as well as brand-specific Synology NAS data recovery and QNAP NAS data recovery. A basic assessment of the array may be free; the laboratory will quote the price of a more complex analysis in advance. Urgent cases: 24/7 hotline 775 556 063.
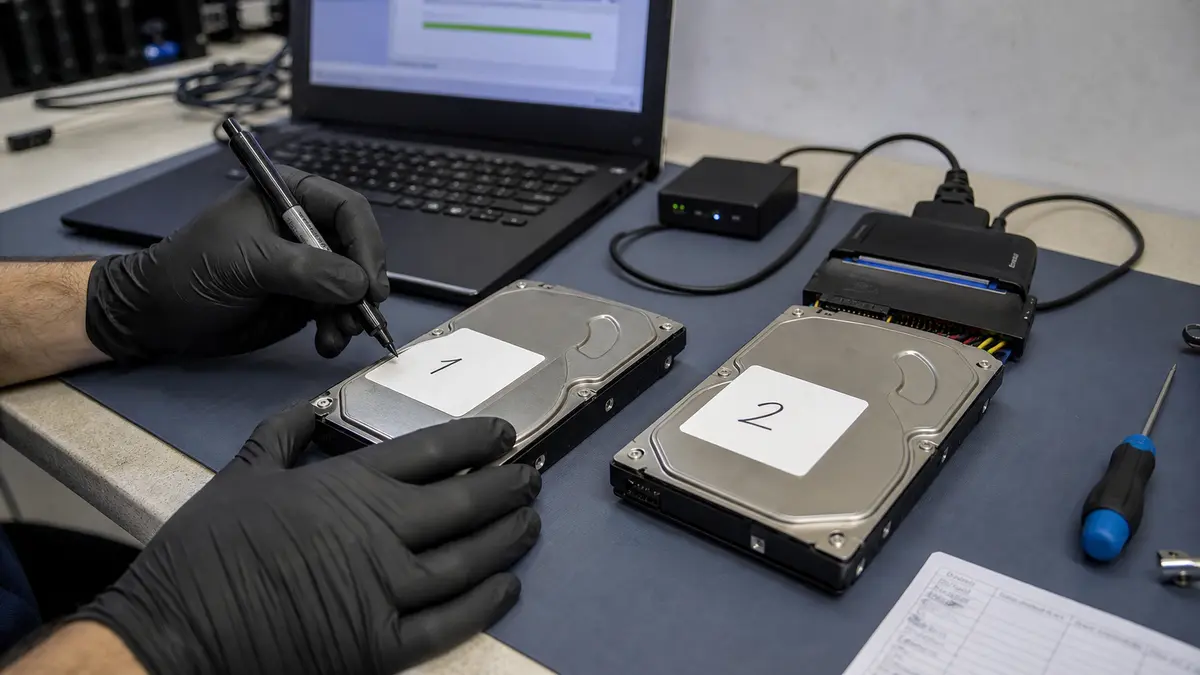
With RAID and NAS systems, drive order and working from images are crucial. The fewer attempts made before diagnosis, the better the chances of recovery.
Quick answer: what to do now
If your NAS reports Degraded, Crashed, Missing volume, or Not Initialized, or if a server suddenly cannot see shared data, the most important thing is to preserve its original state. A RAID array can often be reconstructed, but only if unnecessary writes have not taken place in the meantime.
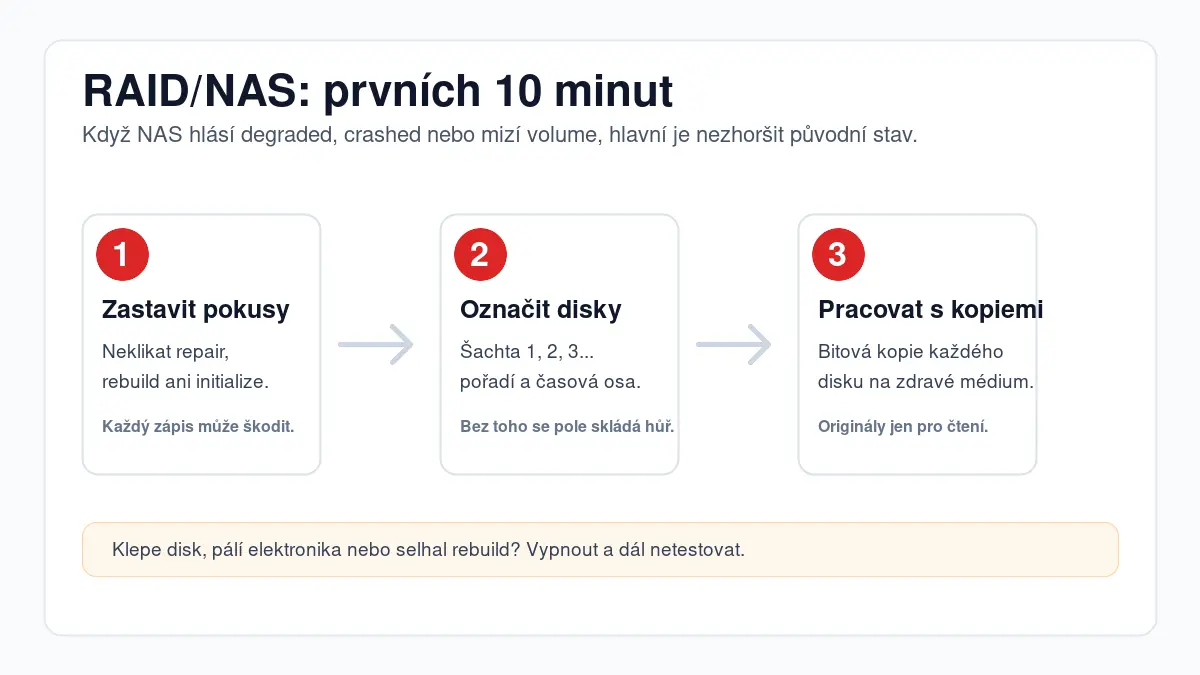
The first few minutes matter. Stop experimenting, label the drives, do not format anything, and work only from images.
In practical terms:
- If a drive is clicking, beeping, scratching, or smells burnt, switch the device off.
- Do not click
repair,rebuild,initialize, orcreate new volume. - Record the drive order by bay and photograph the current administration interface.
- If the data is still accessible, copy only the most important files and do not write anything else to the NAS.
- If the cause of the failure is unclear, arrange RAID array data recovery before making further attempts.
A safe step you can take yourself
You can do the following without making matters worse:
- switch off the NAS or server if a drive is clicking, scratching, squealing, or smells burnt,
- photograph the administration status at every layer—RAID group, storage pool, and volume,
- label the drives according to their current bays and leave them in place,
- copy the most important files to an external drive while the data remains readable,
- write down a timeline: what happened first and what you tried afterwards.
When you must stop
The boundary is clear: as soon as you do not know how many drives failed or in what order, or the array reports Crashed, Not Initialized, or Missing volume, or SMART errors appear on another drive, do not start rebuild, repair, or initialize operations, do not create a new pool, and do not change the order of the drives in their bays. From that point onward, this is no longer a safe DIY task: every such operation writes to the array and may overwrite the metadata needed to reconstruct the data. All further work must be performed on disk images only.
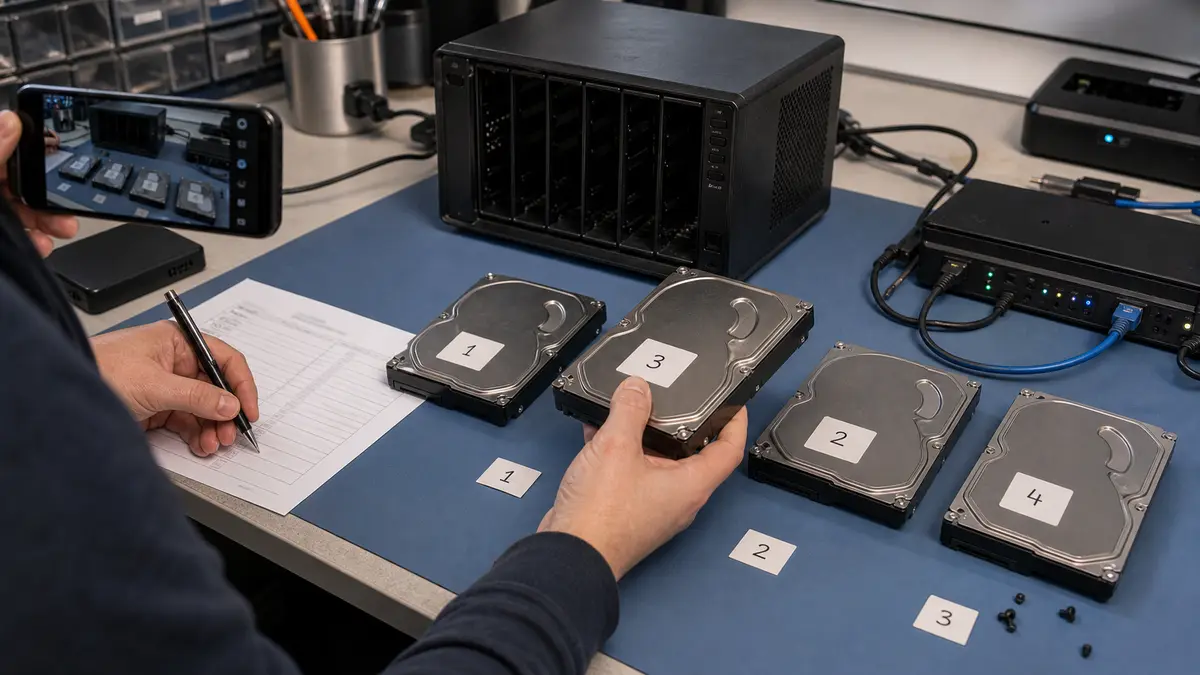
Drive order is often just as important to reconstruction as the drives themselves. Removing them, mixing them up, and experimenting is the worst possible approach.
RAID array repair vs. data recovery: what is the difference?
These are two different goals, and they are regularly confused. RAID array repair—replacing a drive, rebuilding, or selecting repair in the NAS administration interface—restores the STORAGE SYSTEM to operation: the array regains redundancy and the NAS continues running. Data recovery is not intended to make the array operational again; its purpose is to extract the FILES to another medium. What happens to the original NAS is decided afterwards.
You cannot safely do both at once. Repairing an array that contains failing drives puts the data at risk: a rebuild reads the entire surface of every remaining drive and writes to the array. This can push a marginally readable drive into complete failure and overwrite metadata that could otherwise have been used to reconstruct the array.
The decision rule is:
- Routine service operation—array repair: exactly one drive has failed, the others have no SMART errors, the data remains readable, and a current backup exists.
- Laboratory data recovery: more drives have failed than the array can tolerate; a rebuild did not complete; a drive is making unusual sounds; the array reports
Crashed,Not Initialized, orMissing volume; or there is no backup.
A single item from the second list is enough to make array repair unsafe as the first course of action.
QNAP: recovering data from degraded and crashed arrays
What Degraded and Error mean for a RAID group
QTS uses several layers: the RAID group, which is the array assembled from physical drives, and above it the storage pool and volume, where the file system and shared folders reside. A problem may be reported differently at each layer—the RAID group may be Degraded while the volume appears healthy, or the array may look intact while the volume fails to mount. Before doing anything, inspect and photograph the status at every layer, not just the first red warning line.
Degraded means that the array has lost its safety margin: one member is missing, data is being reconstructed from parity, and there is no longer any protection against another read error. Error or Crashed means that the array has failed completely, usually because more drives have failed than the RAID level can tolerate. The data is not necessarily gone; the NAS may simply be unable to assemble a path to it.
The system version also matters. QTS uses Linux software RAID, while QuTS hero uses ZFS. These employ different data structures and metadata, so their recovery procedures differ as well—tools designed for Linux software RAID do not work with a ZFS pool, and vice versa. Always provide the model and system version at the outset.
What not to click in QNAP
Buttons that are helpful during normal operation can have the opposite effect in a crisis:
- Rebuild — on a degraded array with another failing drive, this means hours of reading across the entire surface. The second drive is often the one that prevents completion.
- Recover / recovering an inactive RAID group — the system may reassemble the array with parameters different from the original configuration and overwrite current metadata.
- Initialize — this erases the configuration and the beginning of the drives. It is the last thing you want when you do not yet know what happened.
- Creating a new pool or volume — the system starts writing a new structure to the exact location of the old one.
Unless this is a clearly identified failure of one drive in an otherwise healthy array, the correct procedure is to switch off the NAS, label the drives by bay, and continue only after creating disk images.
Synology: recovering data from SHR and RAID 5
Repair storage pool: when to use it and when not to
Synology uses Linux software RAID (mdadm) together with LVM and either the ext4 or btrfs file system. SHR, or Synology Hybrid RAID, uses the same stack but can combine drives of different sizes. For data recovery, this means that one physical drive may contain multiple RAID members, making reconstruction even more sensitive to any overwriting.
Repair storage pool makes sense in only one situation: exactly one drive has failed, all the others are demonstrably healthy, the data is accessible, and you have a backup. As soon as SMART errors appear on another drive, the pool reports Crashed, a volume is missing, or a previous repair attempt has failed, it is no longer a routine service operation. The repair would then place stress on drives that may not survive it.
Why Synology drives should not be connected directly to Windows
Synology data can often be read on an ordinary Linux system because the stack uses standard components. This should always be done from disk images, however, not from the original drives—assembling an array from live drives writes to them.
The drives should not be connected to Windows at all. Windows does not understand ext4, btrfs, or Linux software RAID, so it sees the drive as uninitialized and displays a prompt to initialize it. Accepting that prompt overwrites the array metadata—the partition table and beginning of the drive, which are precisely what the reconstruction depends on. A single click can turn a simple case into a difficult one.
Netgear, Western Digital, Asustor, and others
The procedure is the same for Netgear, Western Digital, Asustor, and other brands: create images of all drives and perform reconstruction only from those images, because mainstream NAS devices use Linux software RAID. The exact layer arrangement and the names of statuses in the administration interface differ by manufacturer and system version, so you should always identify the model and system version in advance.
RAID 0 data recovery: why it is the riskiest
RAID 0 uses striping without parity: a file is split into blocks, which are distributed across all drives in the array. Nothing is backed up or reconstructed from parity. If a single drive fails, you do not lose “half of the files”—pieces are missing from almost every larger file because each such file is spread across all members of the array.
The chances of recovery therefore depend on two factors:
- whether the failed drive remains at least partially readable, since even partial reads can recover a large proportion of its blocks,
- whether the array parameters are known: drive order, stripe size, and offset.
Never attempt to “recreate” a RAID 0 array. Creating a new array overwrites the very metadata needed for reconstruction, making it much harder to infer the drive order and stripe size from the remaining data.
Many people have RAID 0 without realizing it. Common examples include two-drive external arrays and enclosures that appear as one large drive out of the box, as well as arrays configured through Intel RST in desktop and laptop computers. Users often discover the configuration only when an error occurs.
How to retrieve data from a NAS after a failure: procedure by status
Before touching the drives, confirm that the problem really lies with the array. If the NAS has simply disappeared from Windows, start with NAS cannot be found on the network and check the cable, indicator lights, and IP address.
| Array status | What to do first |
|---|---|
Array is degraded and data opens | Copy the most important files to an external drive and stop writing to the array. |
Array is degraded and data does not open | Switch it off and have the drives diagnosed. Do not start repair. |
Array reports Crashed or Missing volume | Do not modify anything; create images of all drives. |
| Rebuild did not complete or ended with an error | Stop and reconstruct the array from images. |
| NAS will not boot, but the drives appear healthy | Read the drives outside the NAS only through a write-blocker; otherwise, hand them over to a specialist. |
| A drive is making unusual sounds | Switch it off immediately and do not power it on again. |
The order is always the same: stop all writes first, determine the condition of the drives, and only then consider repairs.
How to recognize a RAID or NAS problem
A problem does not always begin with a total collapse. It often develops gradually, and these warning signs should not be ignored.
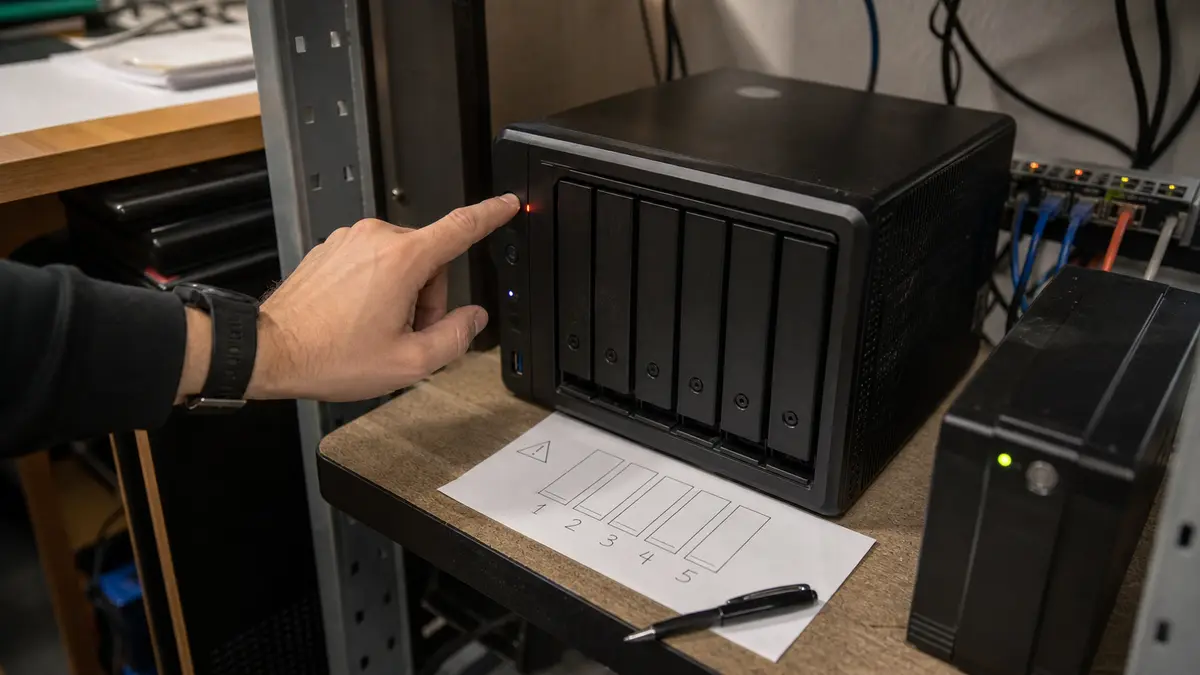
A degraded state is not the end of the world, but it means there is no safety margin. Another drive error or an unsuccessful rebuild may be decisive.
- Status lights: An orange or red LED on a NAS, such as Synology or QNAP, or on a server. It may remain lit or flash.
- Audible warning: Regular beeping that indicates array degradation.
- Array status: The administration interface shows
Degraded,Crashed,Read-Only,Missing volume, orNot Initialized. - Reduced performance: Extremely slow copying, system freezes, or files that will not open.
- SMART errors: Administration warnings about bad sectors, high temperatures, or read errors.
- Unusual sounds: Clicking, knocking, scratching, or squealing. These indicate a critical mechanical problem.
What NOT to do
At our service centre, we repeatedly see the same mistakes turn manageable problems into difficult or sometimes impossible recoveries.
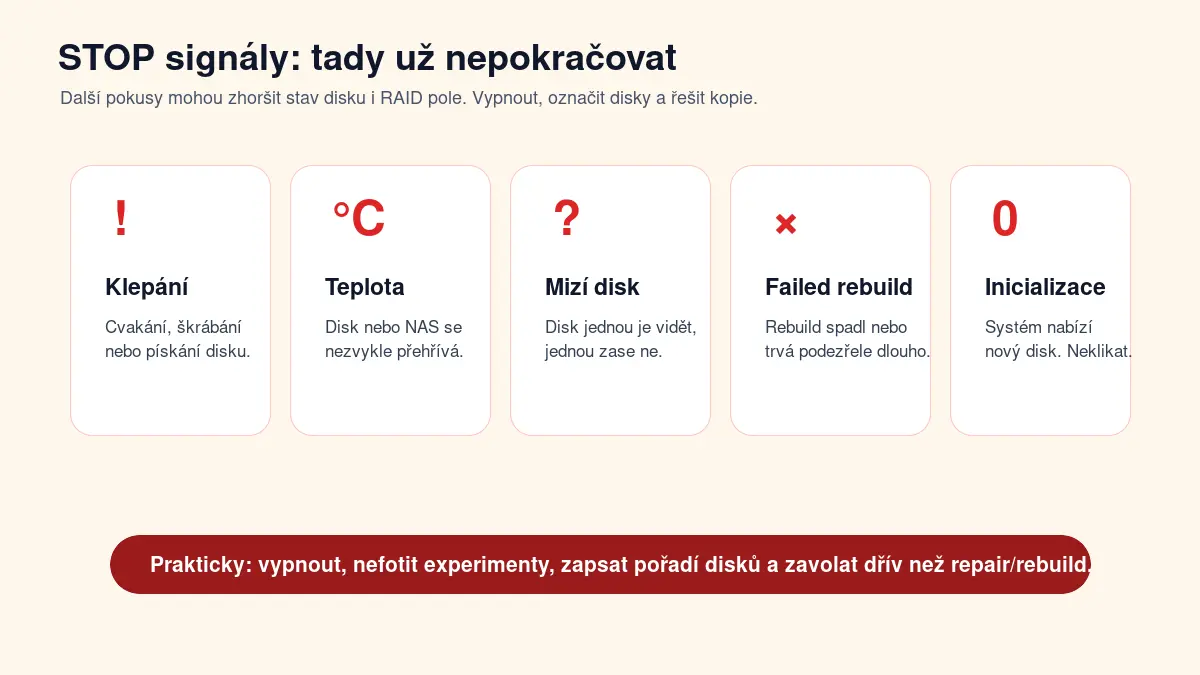
If you encounter any of these conditions, do not continue by trial and error. With RAID and NAS systems, preserving the original condition of the drives is essential.
- Blind rebuild or repair: If more drives fail than the array can tolerate, or if one drive is mechanically damaged, a rebuild stresses the remaining drives with continuous reads and may overwrite metadata. This is a common reason why arrays reach us in significantly worse condition.
- Initializing drives: If the system reports an “uninitialized drive,” never click initialize. This overwrites the beginning of the drive containing critical RAID metadata.
- Changing the drive order: You remove the drives from the NAS, clean them, and then return them in a different order. This creates confusion for the controller and may cause the array to fall apart.
- Further writes: If you can still access the array, stop writing to it immediately. Every new file or change may overwrite blocks that need to be recovered.
- Repeated power cycles: Is a drive clicking? Switch it off and leave it off. Every attempt to spin it up may allow the heads to irreversibly damage the data layer.
- Recovery software on original drives: Scanning the file system directly on failing drives is a gamble. If a drive is dying, the scan may finish it off.
- Rebuilding without an existing backup: A rebuild is not a risk-free step. It is a stress test lasting hours or even days for the remaining drives—which are usually the same age as the failed drive and have undergone the same workload.
Why every additional attempt reduces the chances: Both rebuilding and scanning with recovery software require reads across the entire surface of every drive. On a drive with bad sectors or mechanical damage, this makes its condition worse: more areas become unreadable, and the heads are placed under maximum strain exactly where the drive should be read as gently as possible. Initialization and recreating the array are worse still because they overwrite the metadata needed for reconstruction. The fewer attempts made before diagnosis, the more recovery options remain available.
RAID 0/1/5/6/10: what each level can survive
Each RAID level has a different tolerance for drive failures. Here is the overview we work with every day.
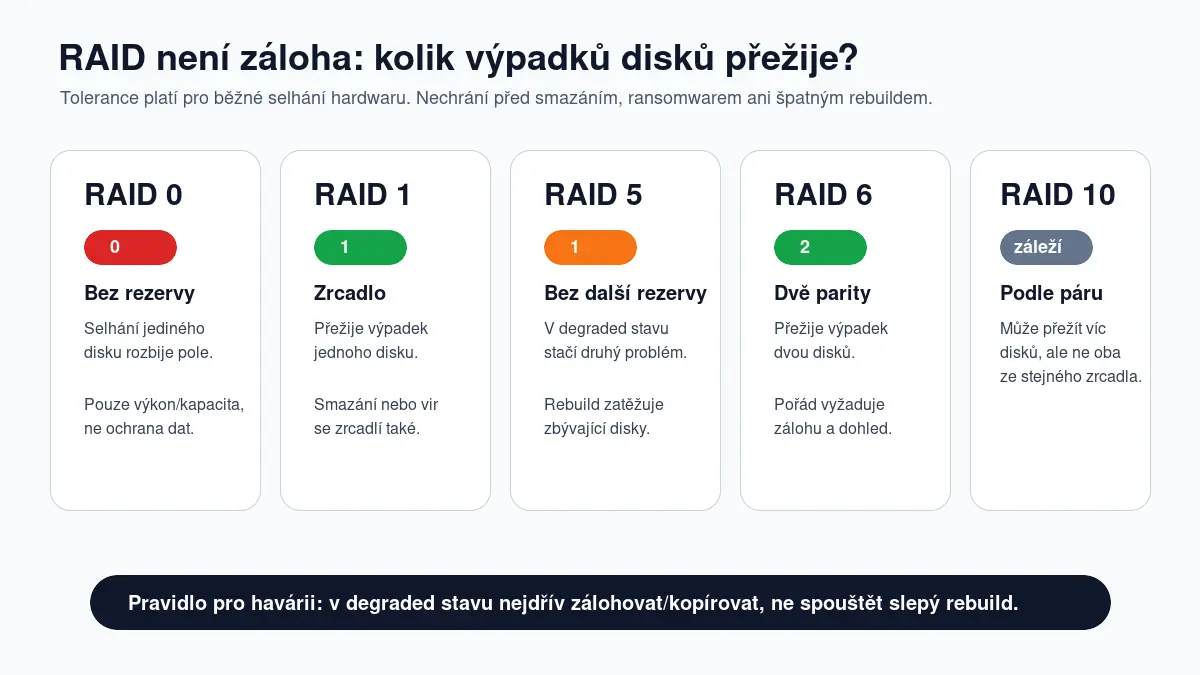
How many drive failures each RAID level can survive—and where no safety margin remains.
| RAID | What it can tolerate | Practical note |
|---|---|---|
| RAID 0 | 0 drives | No redundancy. Failure of a single drive breaks the entire array. The data is striped, so without every member it is like a jigsaw puzzle with half the pieces missing. |
| RAID 1 | 1 drive (mirror) | Survives the failure of one drive. Remember that deleting a file or suffering a ransomware attack is immediately mirrored to the second drive. RAID 1 protects only against hardware failure, not user error. |
| RAID 5 | 1 drive | In degraded mode, there is no safety margin left. If a second drive fails or a read error occurs during the rebuild, the array is at critical risk and the data may become inaccessible. Rebuilding today’s large drives takes a long time and carries significant risk. |
| RAID 6 | 2 drives | A more resilient option. Even after one drive fails, the array still retains another parity layer. Rebuilding is nevertheless extremely lengthy and demanding, and read errors on the remaining drives may cause it to fail. |
| RAID 10 | Depends on the pair | A combination of mirroring and striping. It can survive multiple drive failures as long as they are not from the same mirrored pair. If both drives in one pair fail, the array is lost. |
When data can be recovered and when the chances are low
The following table shows common scenarios we encounter. It does not promise miracles, but it explains the factors that matter.
| Scenario | Chance of recovery | What is required |
|---|---|---|
| Lost configuration (drives healthy, array not detected) | Very high | Correctly identify the array parameters—order, stripe size, and offset—and reconstruct it in software from images. |
| Degraded array, drives readable | High | Create images of all drives, verify their health, and only then consider replacement and rebuilding. |
| Faulty NAS or controller, drives healthy | High | The data can often be read on an ordinary Linux system, but always from images rather than the original drives. |
| Reformatted without extensive overwriting | Medium to high | Depends on the formatting method and file system. The metadata has been overwritten, but the data often remains. |
| Repeated failures and bad sectors | Medium to low | Laboratory work is necessary. Reading through bad sectors is slow and risky and requires specialist hardware. |
| Incomplete or incorrectly started rebuild | Low to very low | Metadata and some data have been overwritten. The remaining data is often fragmented and lacks its logical structure. |
| Clicking or knocking mechanism | Low (depending on the extent of damage) | Requires work in a controlled clean environment and replacement of the read heads. Every additional power-on attempt reduces the chances. |
Real-world scenarios we frequently handle
Not every NAS failure is the same. Two cases may look similar on screen while requiring completely different technical approaches.
Synology SHR or RAID 5 after one drive fails If the array is merely degraded, the data is readable, and the other drives are healthy, replacing the failed drive in the standard way may be appropriate. As soon as SMART errors appear on another drive, however, it stops being a routine service repair and becomes a data-recovery case.
QNAP after a failed rebuild This is a more serious situation. The rebuild has placed stress on the remaining drives, may have overwritten part of the parity, and the metadata may no longer reflect the original state. It is essential not to attempt another repair. Instead, create drive images and analyse exactly what was overwritten.
RAID 0 in an external enclosure RAID 0 has no redundancy. If one drive is missing, part of the data is missing. The chances depend on whether the drive remains at least partially readable and whether the array parameters are known. RAID 0 is a poor choice for important data.
NAS after ransomware RAID does not help when ransomware encrypts shared files. The array may remain technically healthy while the data is logically damaged. In this situation, recovery focuses on snapshots, backups, shadow copies, or partial restoration depending on the type of attack.
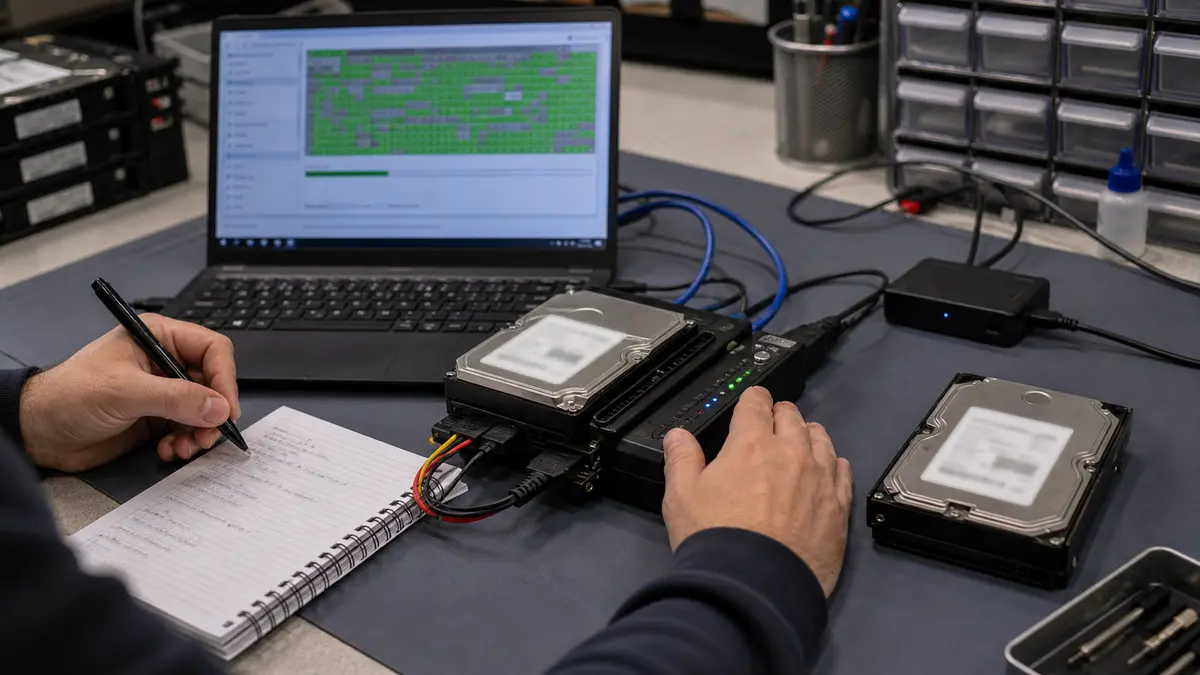
Diagnostics reveal whether the drive is suitable for further reading or whether it must be handled more slowly, with every attempt conserved.
A safe recovery procedure
The laboratory follows a precise procedure when recovering an array so that nothing is damaged. The outline below shows how safe recovery is performed and what you can expect. However, we do not recommend attempting it blindly at home when drives are damaged or the cause of the array failure is unclear.
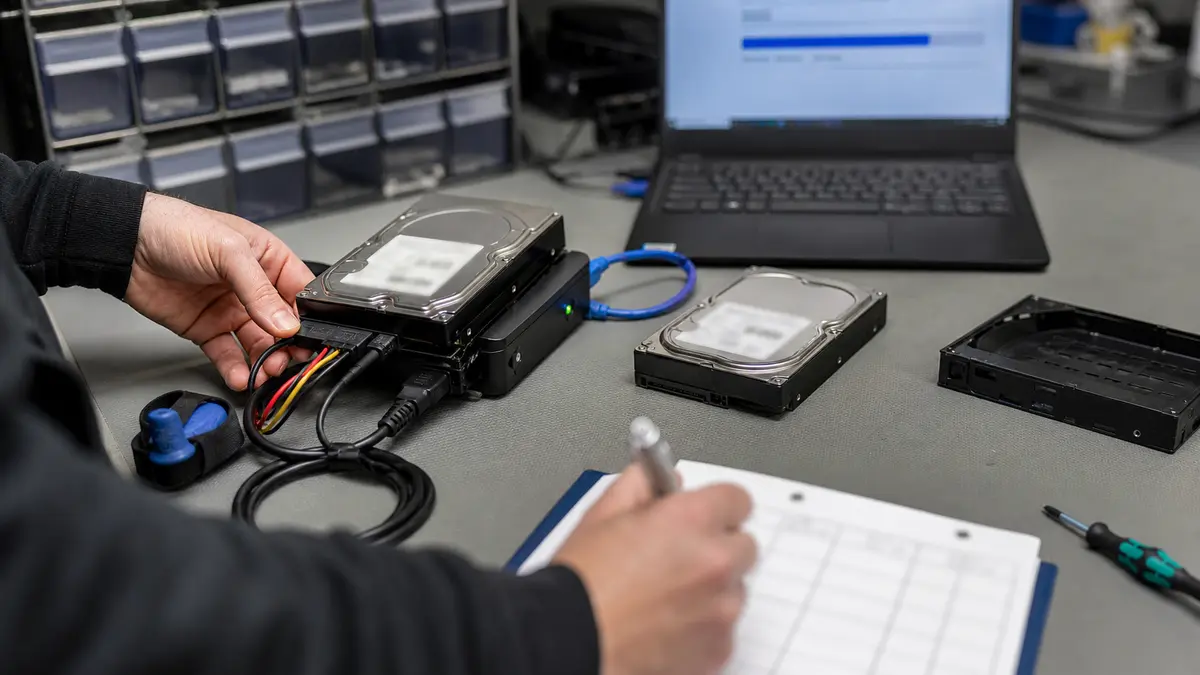
A disk image is the foundation of safe recovery work. Scanning and reconstruction are performed on the image, not the original drive.
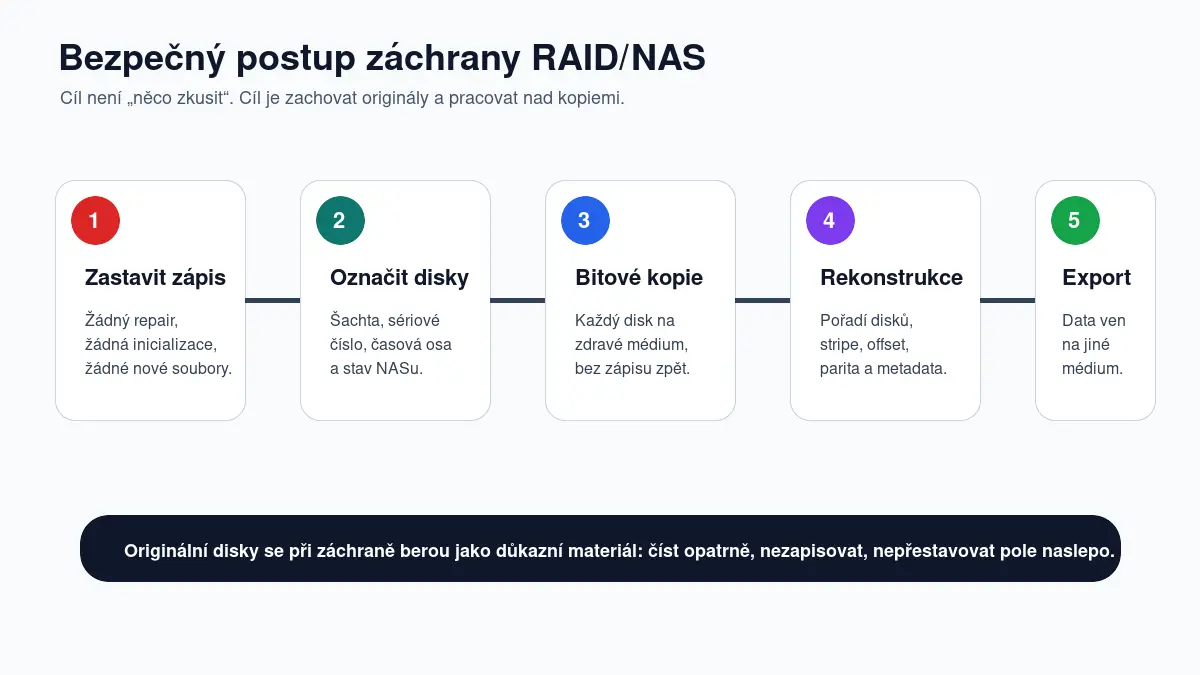
The safe process: first create images of every drive, then reconstruct and export from those images—the original drives remain untouched.
- Inventory and documentation: Record the exact drive order—bay 1, 2, 3, and so on—their serial numbers, and what happened, including a timeline of events. This is often essential for reconstruction.
- Disk imaging: Each drive is connected through a hardware write-blocker and a complete image is created on healthy, empty media. Specialist tools capable of reading around bad sectors are used for failing drives.
- Image readability check: The images are checked for completeness and errors. All further work is performed exclusively on them.
- Parameter reconstruction: The metadata is analysed to identify the correct parameters: drive order, stripe size, offset, parity type and rotation, and metadata type, such as mdadm, LVM, or Intel Matrix.
- Array assembly and data export: The array is assembled virtually in read-only mode, the file-system structure is verified, and the data is exported to another healthy medium.
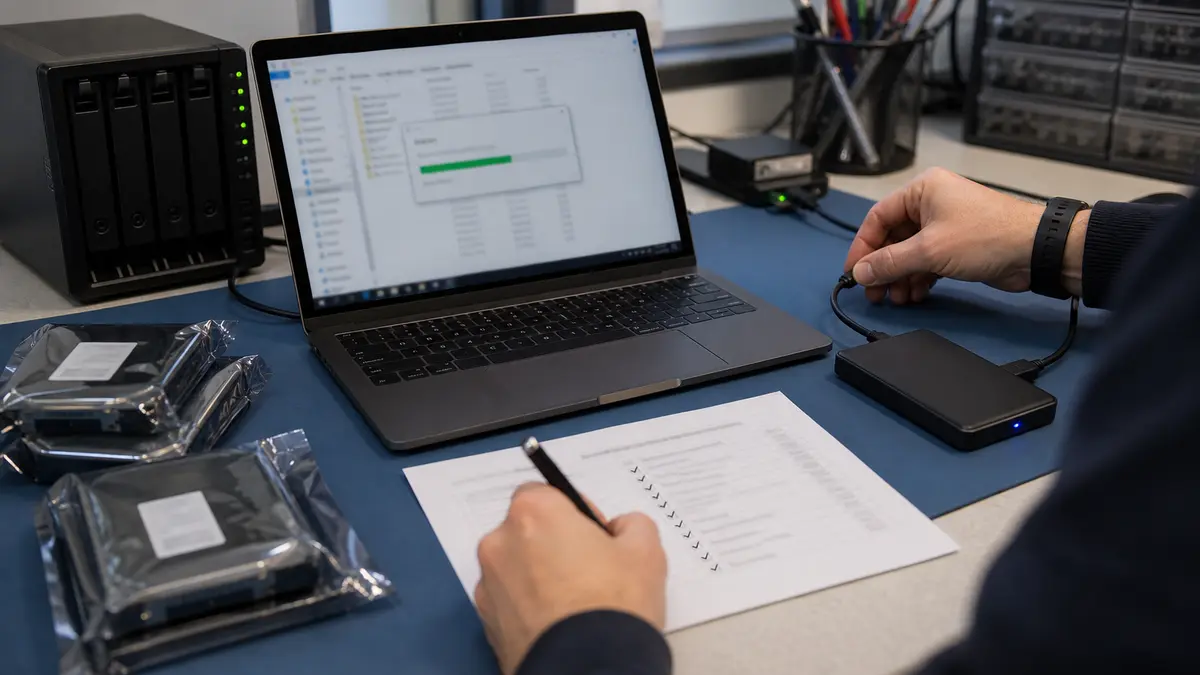
The goal is not to “get the NAS running again at any cost.” The goal is to extract the data safely to another medium and only then address the future storage solution.
Synology and QNAP specifics
Each manufacturer has its own characteristics that must be understood during recovery.
- Synology: It usually uses Linux software RAID (
mdadm) combined with LVM (Logical Volume Manager) and either theext4orbtrfsfile system. Its proprietary SHR (Synology Hybrid RAID) technology is also built on this stack. One advantage is that the data can often be mounted and read on an ordinary Linux PC, but, to repeat, only from images. - QNAP: It uses proprietary layers within QTS or QuTS (ZFS). You may encounter storage pools, RAID groups, and specific configurations. Here too, the vendor’s repair function is a legitimate service procedure only when you are absolutely certain that the remaining drives are physically healthy and that the task is merely a standard replacement of one failed drive in a degraded array. In any other emergency, it is safer to stop everything and work from images.
Price, time, and factors affecting success
It is not reasonable to promise a fixed price for RAID or NAS data recovery without first performing diagnostics. The difference between cases is enormous: a lost configuration with healthy drives is very different from an array affected by a failed rebuild, bad sectors, or a mechanically damaged drive.
The factors with the greatest effect on success are:
- how many drives have physically failed,
- whether someone started a rebuild or initialization,
- whether a current backup exists,
- whether the original bays and drive order are known,
- the RAID type, file system, and NAS platform,
- whether further data was written to the array after the failure.
The initial assessment begins by determining the condition of the drives and configuration. Only then is it possible to say whether the case requires routine recovery, more complex RAID reconstruction, or laboratory intervention.
A fixed advance price for RAID or NAS data recovery therefore makes little sense. A specific figure can be provided only after establishing how many drives are faulty, whether laboratory-level reading is required, and what condition the array configuration is in. For RAID array data recovery at the ITHOPE laboratory, a basic assessment may be free; more complex analysis is charged, and the laboratory will provide the price before beginning.
Why the original array is not repaired first
In ordinary servicing, repairing the device first makes sense. Data recovery reverses that order: recover the data first, then deal with the device. The original array may be unstable, and every operation that writes to it can worsen the result.
Until the data is safe, avoid the following:
- rebuilding on the original drives,
- repairing the file system directly on the array,
- initializing or creating a new volume,
- scanning a failing original drive with recovery software,
- repeatedly powering on a drive with a mechanical fault.
Once the data has been exported, you can decide whether to repair the original NAS, build new storage, replace the drives, change the RAID level, or implement a better backup strategy.
What to prepare before handing the array to a laboratory
The better the information available to the laboratory at the outset, the less time reconstruction will require. Ideally, bring the entire NAS or server in its original condition. If that is not possible, provide precise documentation.
Prepare the following:
- the NAS or server model,
- the number of drives and their original order in the slots,
- a photograph of the administration interface showing the array status,
- a timeline explaining what happened first and what you tried afterwards,
- information about whether a rebuild, repair, initialization, or drive replacement was performed,
- a destination medium for the recovered data.
Once the data has been recovered, set up data backups immediately, because RAID is not a backup.
Frequently asked questions
Should I replace the failed drive and click repair? Only if you are 100% certain that exactly one drive has failed and every other drive is in perfect condition, with no SMART errors or bad sectors. Otherwise, this is a risky operation that may destroy the array. If you are unsure, do not do it.
Can I connect the drives to Windows?
No. Windows does not natively understand file systems such as ext4 or btrfs, nor Linux software RAID (mdadm). Connecting the drives may trigger an initialization prompt, and accepting it could have catastrophic consequences.
The NAS shows my data but reports degraded—what now? Immediately back up the most important data to an external drive if possible. Then address the drive replacement. Remember that a degraded array offers no protection against another drive failure.
Do I need to bring the entire NAS or only the drives? Ideally, provide the entire NAS. Knowing the model and system version is important for reconstruction. If you bring only the drives, their order must be labelled precisely—bay 1, 2, 3, and so on. Without this information, reconstruction becomes significantly more difficult.
Will RAID help if I accidentally deleted something? No. RAID protects against hardware failure, but it is not a backup. It does not protect against deleted files, user error, or ransomware. The 3-2-1 backup rule also applies to NAS devices and servers.
Official manufacturer guides vs. data recovery
Synology and QNAP both provide official procedures for repairing a degraded array. These make sense when it is clear that exactly one drive has failed, the other drives are healthy, and you have a current backup. If you are not certain, it is safer to stop and create images first. For reference, Synology describes how to repair a storage pool, while QNAP explains how to recover a RAID group with a degraded status. These procedures are not the same as recovering data after an unclear failure.
If your NAS or server reports an error, stay calm and, above all, do not experiment blindly. A correctly recorded drive order and timeline of events are half the battle. The recovery itself is performed by the ITHOPE laboratory—RAID array data recovery—while maintenance and repairs of functioning NAS devices are handled by NAS service in Brno. For urgent cases, call the 24/7 hotline on 775 556 063. Once your data is safe, review the advice on proper backups, because RAID itself truly is not a backup.
Rather not deal with it yourself?
Book a diagnosis in Brno — you get the price up front and we start only once you agree.
Where to find us
We are a PC and laptop repair shop in Brno-Židenice: diagnostics and repairs of computers and laptops, data recovery from drives, and out-of-warranty Apple repairs (iPhone 12 and newer, MacBook, iPad).
Viniční 3587/216, 615 00 Brno-Židenice, Czech Republic Mon–Fri 10:00–16:00
Call +420 774 777 774 Computer repair and laptop service in Brno
We put the repair price in writing after diagnostics and carry on only once you agree.