You press the power button and the computer comes to life: the fans start spinning, the drive light flashes, and the keyboard lights up. After a moment, however, the monitor displays a No signal box in the middle of the screen and goes dark. No manufacturer’s logo, no BIOS, nothing.
The first reaction is often “the graphics card is dead,” followed by “I’ll reinstall Windows.” Neither is the right first step—and on a computer that cannot even display the BIOS, the second one is simply a wasted afternoon.
The short answer: The “No signal” message comes from the monitor, not the computer. It means only one thing: there is no video signal on the selected input. It tells you nothing about whether the computer completed its initial hardware test (POST)—spinning fans are not proof that the computer has booted, only that power is reaching something. Start with the cheapest checks: correct monitor input → another cable → another monitor → correct output (graphics card vs. motherboard) → one RAM module in the recommended slot → motherboard diagnostic LEDs. None of these requires a new component. Do not blindly update the BIOS, do not reset CMOS unless you have your BitLocker recovery key available, and do not buy components until you know at which stage the startup process stopped.
What “No signal” does and does not mean
The monitor’s own electronics generate this message. The monitor switches to an input and waits for video data; when none arrives, it displays the message and goes to sleep. It behaves exactly the same way when the cable is faulty, when the computer is stuck during POST, or when the cable is connected to HDMI 1 while the monitor is set to HDMI 2.
This guide applies when nothing appears at all: no manufacturer’s logo, no BIOS/UEFI screen, and no startup text. If the display works normally at first and goes blank only when Windows reaches the sign-in screen, see our article about a black screen after signing in. If there is an image but it contains lines, colored squares, or visual corruption, read about graphics artifacts instead—that is a completely different diagnosis.
One more point that often leads people to the wrong conclusion: an illuminated keyboard, a beep from a connected USB device, or a flashing drive light does not prove that the computer has booted. These components can receive power before the processor even begins POST.
The first five minutes: tests that cost nothing
Go through them in this order. Each one rules something out—and none of them can damage anything.
- Press the menu button on the monitor. Its built-in menu (OSD) should appear even without a signal. If it does not, the problem is the monitor or its power supply, not the computer: try another outlet, power cable, or adapter.
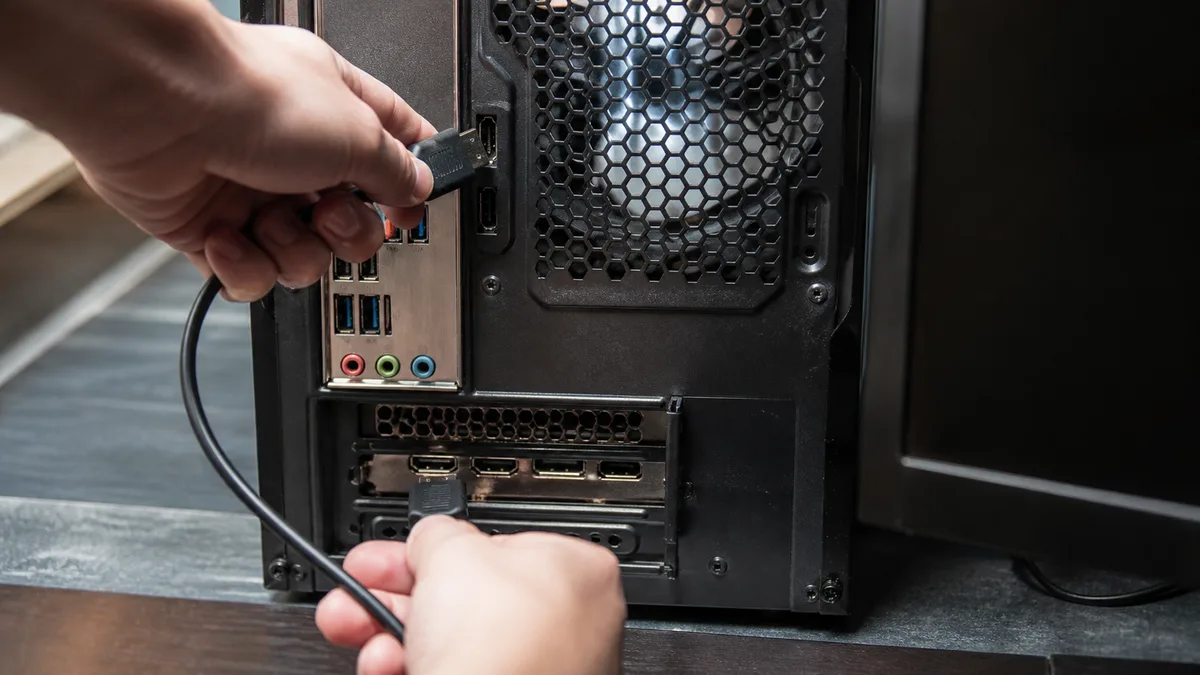
- Select the input manually. Automatic input selection often gets stuck on an empty HDMI 2 input even though the cable is connected to HDMI 1 or DisplayPort. Check every input one at a time and wait briefly on each one.
- Remove everything between the computer and the monitor. Disconnect adapters, docking stations, KVM switches, extension cables, and pass-through connections via a second monitor. With adapters, pay attention to the direction: passive DisplayPort → HDMI works only from an output that supports it (DP++), while a passive HDMI → DisplayPort adapter never works—the DisplayPort connector on the monitor is an input and cannot generate a signal by itself. Connect the cable directly and push it firmly into both ends.
- Try another cable that you know works. A faulty HDMI or DisplayPort cable can look perfectly normal from the outside; replacement is the only reliable test. With DisplayPort cables, a bent or broken pin may be responsible, as may cheap uncertified cables that cannot handle higher resolutions and refresh rates.
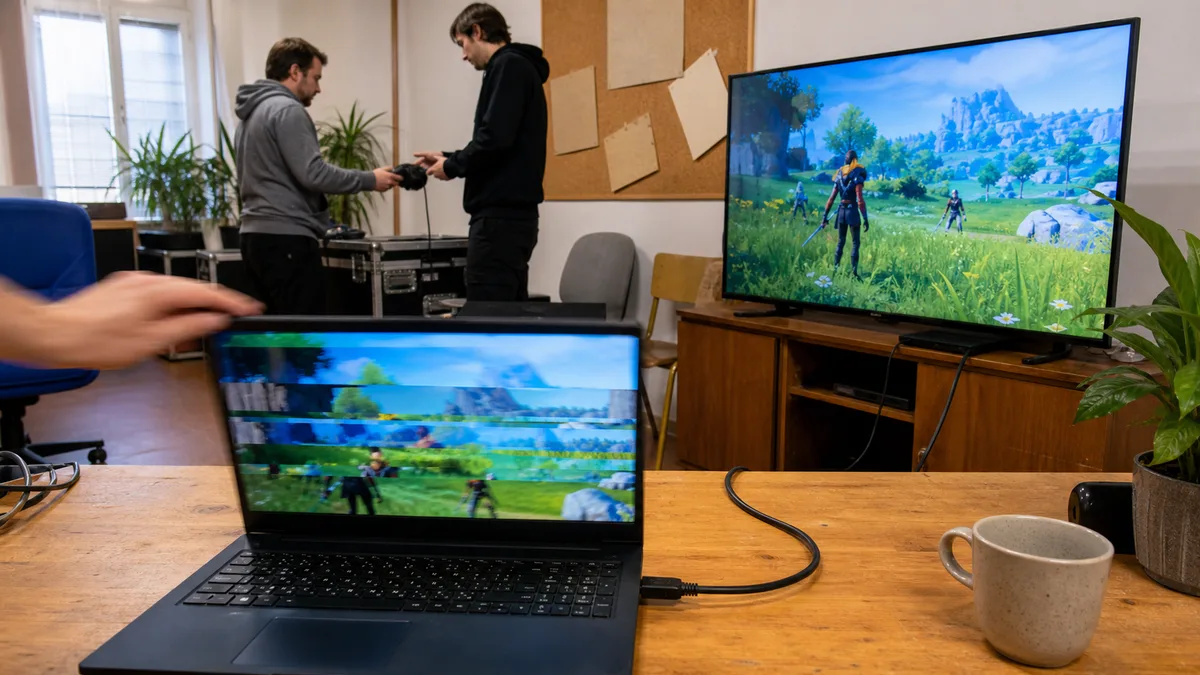
- Connect another monitor or television—and keep only one screen connected, not two.
- Write down what happened during each test. Not “I tried everything,” but “the television displays an image through the same cable.” That information can save you money.
The result matters more than the number of attempts. If another display works from the same output, there is no point troubleshooting the memory or power supply—look at the original monitor. If no monitor or cable works, it is time to look inside the computer.
What the symptoms can tell you
| What you see | What it indicates | What to check next |
|---|---|---|
| Even the monitor’s own menu does not appear | The problem is the monitor or its power supply | Another outlet, another power cable, another monitor |
| Another monitor works with the same cable | The computer is producing an image | Original monitor: input, settings, and its cable |
| Only one graphics-card port provides an image | The card works; the port or cable is faulty | Other ports with the same cable |
| The motherboard HDMI output provides an image | The dedicated card is the main suspect | Card seating, PCIe power, another slot |
| The PC powers on and off every few seconds | POST is not completing; there may be several causes | One RAM module, disconnect everything unnecessary, motherboard LEDs |
| The DRAM or VGA LED remains lit | The motherboard indicates where startup stopped | The manual for that exact motherboard |
| Nothing lights up and the fans do not even twitch | Power supply, case button, or motherboard | Another power supply, bridge the power-switch pins |
Connect the cable to the graphics card, not beside the USB ports
Desktop computers often have two groups of video connectors. The HDMI and DisplayPort connectors at the top beside the USB ports belong to the motherboard. The connectors lower down on an expansion-card bracket belong to a dedicated GeForce or Radeon graphics card. If the computer has a dedicated card, connect the monitor to it—this is frequently mixed up after moving the computer or replacing a cable.
The presence of an HDMI connector on the motherboard does not mean it can produce an image. That output relies on integrated graphics inside the processor, which may not be present:
- Intel—models with an F or KF suffix (Core i5-12400F, i5-14400F, and similar models) have no integrated graphics at all. Without a dedicated card, a computer with one of these processors cannot produce an image.
- AMD—desktop Ryzen 3000 and 5000-series processors without the G suffix (3600, 5600X, 5800X) do not have integrated graphics. Conversely, almost all 7000-series and newer models do, except for models with an F, most notably the Ryzen 5 7500F and Ryzen 5 8400F.
- Office PCs (Dell OptiPlex, HP EliteDesk, Lenovo ThinkCentre) often disable the motherboard output as soon as a dedicated card is installed. Some allow you to change the primary display output in UEFI, but without an image you cannot access UEFI.
The processor model therefore tells you more than looking at the connectors. If integrated graphics are available and the motherboard output displays an image, attention shifts to the dedicated card, its power connection, its slot, or the original cable—it does not automatically mean that the card is dead.
Improperly seated memory can stop startup before an image is generated
The processor needs working system memory during POST—long before Windows starts. After moving the computer, cleaning out dust, or replacing the cooler, a single module that is not fully seated can prevent any image from appearing.
Before reaching inside: turn off the power supply using the switch on the back, unplug the power cable, and then hold the case power button for two seconds—this discharges residual power. Take a picture of how the modules are installed. Release the latches to remove the memory, do not touch the gold contacts, and when reinstalling it, press until the latches actually click into place; a module that is “almost inserted” looks much like one that is properly seated.
If you have two modules, test one module in the slot recommended by the motherboard manual—on most motherboards this is the second slot from the processor, often labeled A2, but this is not a universal rule. Then test the second module in the same slot. If the computer works with only one module, the cause could be a faulty module, slot, contact, setting, or the memory controller in the processor. Do not buy new memory until you have completed this cross-test.
There is one more trap: systems with DDR5 perform a process known as memory training after the memory is replaced, the BIOS is updated, or the settings are reset. During this process, the computer may run for tens of seconds or even several minutes without displaying anything, and it may restart itself once or twice. Let it finish. Turning the computer off midway only causes the process to start again from the beginning.
Graphics card or power supply?
A dedicated card must be fully inserted into the PCIe slot, with the retaining clip locked in place. More powerful models also require their own power connection: one or two 6/8-pin PCIe connectors, or a single 12V-2x6 connector on newer cards (previously 12VHPWR). Push it in until it clicks—an incompletely inserted connector is a known source of problems with this design, ranging from a missing display to overheated contacts. Check it only while the computer is switched off and unplugged.
Three things repeatedly catch people out:
- Spinning graphics-card fans prove nothing. The fans may spin even if the card is not receiving auxiliary power; some models indicate this with a warning LED or by running the fans at full speed.
- Never use a modular cable from another power supply. The pinout on the power-supply side is not standardized between manufacturers or even between models, and using the wrong cable can destroy the graphics card, drive, or motherboard. A power supply must be used with its own cables, even if another connector physically fits.
- A “paperclip test” only shows that the power supply can start without a load. It does not tell you whether it can maintain stable voltage under load during startup. The only conclusive test is another known-working power supply with a suitable output rating and its own cables.
If the computer repeatedly powers on and off even in a minimal configuration—without a dedicated graphics card, with one memory module, and with the drives and front panel disconnected—attention shifts to the power supply, motherboard, or processor.
CPU, DRAM, VGA, and BOOT LEDs: the motherboard shows where startup stopped
Newer motherboards have four diagnostic LEDs (ASUS calls them Q-LED, MSI uses EZ Debug LED), while higher-end models may have a two-digit POST code display (ASRock Dr. Debug). They light up in sequence during startup; the important one is the LED that remains lit:
- CPU—the processor failed to initialize. Possible causes include its power supply, a disconnected 8-pin EPS connector near the processor, bent socket pins, or a BIOS version that does not yet support the processor.
- DRAM—memory initialization failed. This does not necessarily mean that a module is faulty; the slot, contact, or XMP/EXPO profile settings may also be responsible.
- VGA—the motherboard failed to initialize the graphics output.
- BOOT—POST completed, but no boot device was found. That belongs to a different category of problems, and an image is usually already available at this stage.
If you have just replaced the processor with a newer generation on the same motherboard, a lit CPU LED often means only that the old BIOS does not support that model—the computer cannot complete POST until the BIOS is updated. Some motherboards can do this without a processor or memory by using a button on the rear panel (ASUS BIOS FlashBack, MSI Flash BIOS Button, Gigabyte Q-Flash Plus), but many cannot. Check whether your motherboard has this feature in the manual for its exact model, not merely the product series. The procedure, file format, filename, and required USB port can all differ.
On prebuilt computers, look for diagnostics elsewhere: Dell, HP, and Lenovo encode faults using a flashing power button or beep patterns, and the meanings vary between manufacturers. Three beeps do not indicate the same fault on every computer. The indicator identifies the area to investigate, not the component to order.
What you should avoid doing
- Do not update the BIOS without a specific reason merely because “someone online recommended it.” A blind update will not fix anything and may introduce a second fault. A valid reason would be confirmed incompatibility between the installed BIOS version and processor. Even then, the update should be attempted only on a motherboard capable of performing it without completing POST (see the CPU LED section above), and the procedure in the manual for that exact model must be followed precisely.
- Do not remove the processor unless you have a reason to do so. LGA1700 and LGA1851 sockets have pins on the motherboard side, and they are surprisingly easy to bend.
- Do not short any pins unless you have identified them in the manual.
- Do not open the power supply. The capacitors inside may remain charged long after it has been unplugged.
- Think before resetting CMOS. It is mainly useful after a failed configuration or overclocking change. However, it erases UEFI settings, including the XMP/EXPO profile, boot order, and Secure Boot options—and such a configuration change may prompt Windows to request the BitLocker recovery key on the next startup. Check in advance where to find the key so you do not discover the problem only after the drive is locked.
- Do not reinstall Windows. If the computer cannot even display the BIOS, the operating system is not involved.
- If you smell burning, see smoke, or hear a clicking drive, unplug the computer and do not try to start it again.
If the desktop keeps misbehaving, desktop PC repair in Brno will take it in. A related step is fault diagnostics in Brno.
When paid diagnostics make sense
It is time to take the computer to a repair shop if neither another cable nor another monitor helped, you do not know whether your processor has integrated graphics, the motherboard LED remains on CPU, DRAM, or VGA—or you simply do not have spare working memory, a graphics card, and a power supply for cross-testing. Experimenting is especially unwise on a business computer containing orders and accounting data that have not been backed up.
If you are not comfortable working inside the computer or do not want to buy parts “just to test them,” contact us—we diagnose computers with no display in Brno and have working memory, graphics cards, and power supplies available for cross-testing. Bring the complete computer case and, if possible, the cable and monitor that failed; the fault is often found in the cable or monitor itself.
Proper diagnosis does not mean replacing parts by trial and error. The technician should start the system in a minimal configuration, substitute known-working components based on the symptoms, and confirm the finding with repeated testing. The result should be a specific cause, a list of required parts, and a price approved in advance. According to our price list, expect a diagnostic fee starting at around CZK 600 if the repair is ultimately not carried out; parts are charged separately.
Repair or replace?
A faulty cable, improperly seated memory, or aging power supply has completely different financial implications from a failed motherboard or expensive graphics card. With an older computer, compare the cost of the entire repair with the system’s value, the availability of replacement parts, and whether the machine can run Windows 11 at all—standard support for Windows 10 ended on October 14, 2025, and an incompatible computer presents another question besides the missing display: how to keep using it securely. We discuss the options in our article about the end of Windows 10.
Do not give up on the data even if you decide not to repair the computer. The drive is independent of the graphics output; after checking it, a working drive can be moved to a new system, or its contents can simply be copied elsewhere. That is the smaller concern—the bigger one is finding out why the computer stopped before it could display anything at all.
Order online: Fault diagnostics — tell us the model and what happens, and we will come back with the next step.
Rather not deal with it yourself?
Book a diagnosis in Brno — you get the price up front and we start only once you agree.
Where to find us
We are a PC and laptop repair shop in Brno-Židenice: diagnostics and repairs of computers and laptops, data recovery from drives, and out-of-warranty Apple repairs (iPhone 12 and newer, MacBook, iPad).
Viniční 3587/216, 615 00 Brno-Židenice, Czech Republic Mon–Fri 10:00–16:00
Call +420 774 777 774 Computer repair and laptop service in Brno
We put the repair price in writing after diagnostics and carry on only once you agree.