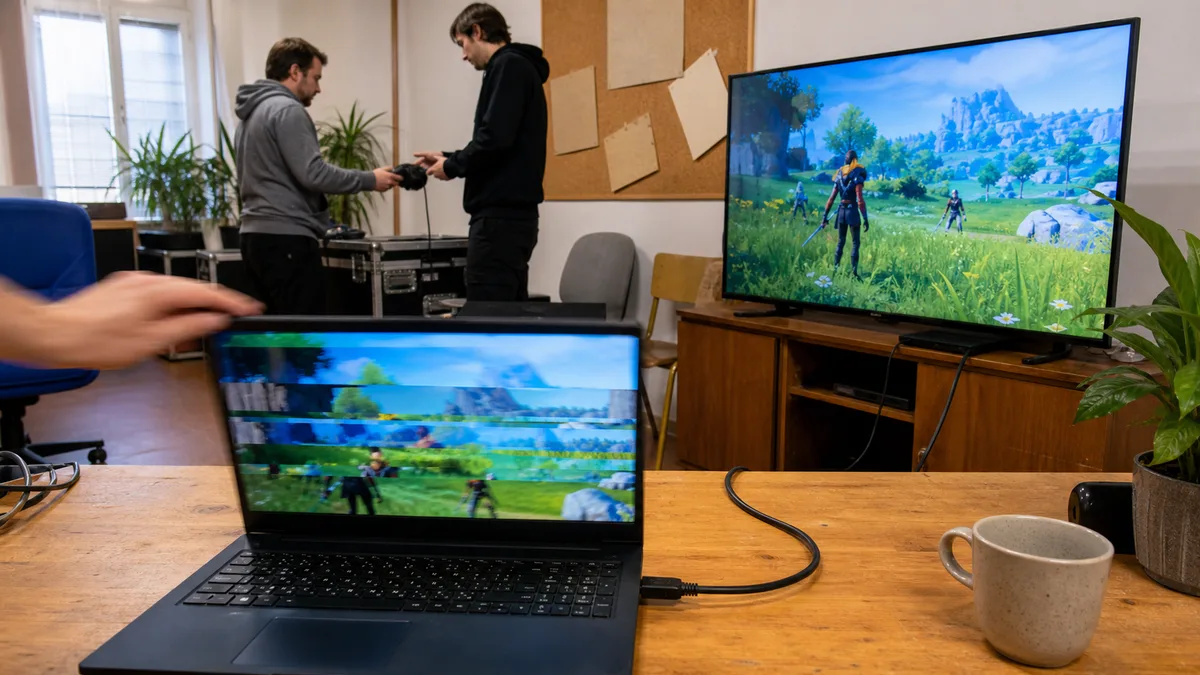
If an older desktop or laptop is acting up and every task takes forever, the biggest difference usually doesn’t come from a new processor or more RAM. It comes from swapping the old mechanical hard drive for an SSD.
We see this constantly in the shop: a laptop that took two minutes to boot and another thirty seconds to open a browser suddenly feels like a completely different machine after a drive swap. And the good news is, you don’t necessarily have to reinstall Windows. Cloning transfers your system, programs, data, and settings 1:1 to the new drive.
If you’re still figuring out why your computer is slow, start with the article slow computer: what to check. If there’s still an HDD inside, an SSD is usually the safest upgrade.
Why an SSD specifically
In older computers, the mechanical HDD is often the bottleneck of the entire system. It has spinning platters and a read head that physically seeks data. Meanwhile, Windows reads thousands of small files during startup and normal operation. The HDD easily gets overwhelmed, and the rest of the computer waits.
An SSD has no moving parts. It reads data from memory chips and accesses small files much faster. That’s why Windows startup, browser launch, updates, and general system responsiveness all speed up. For office work, the difference is often more noticeable than a CPU upgrade.
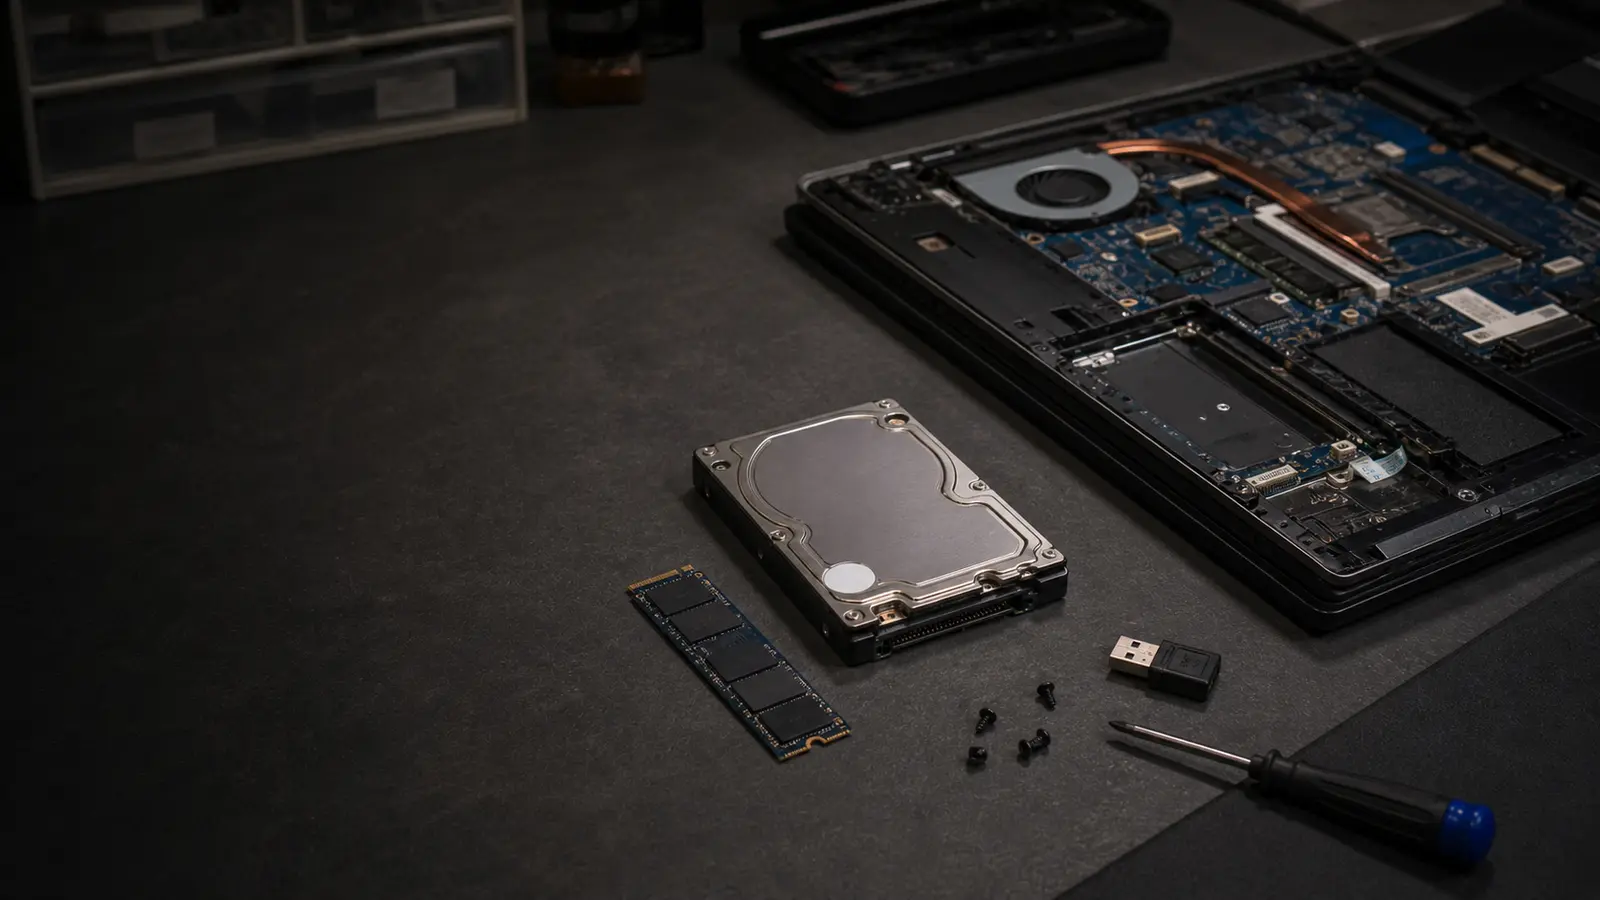
That doesn’t mean an SSD fixes absolutely everything. A computer with 4 GB of RAM and a very old processor will still have its limits. But if the drive is your main bottleneck, switching to an SSD is the fastest path to a noticeable improvement.
What you’ll need
First, get the right equipment ready. The critical part is buying a drive that physically fits your computer.
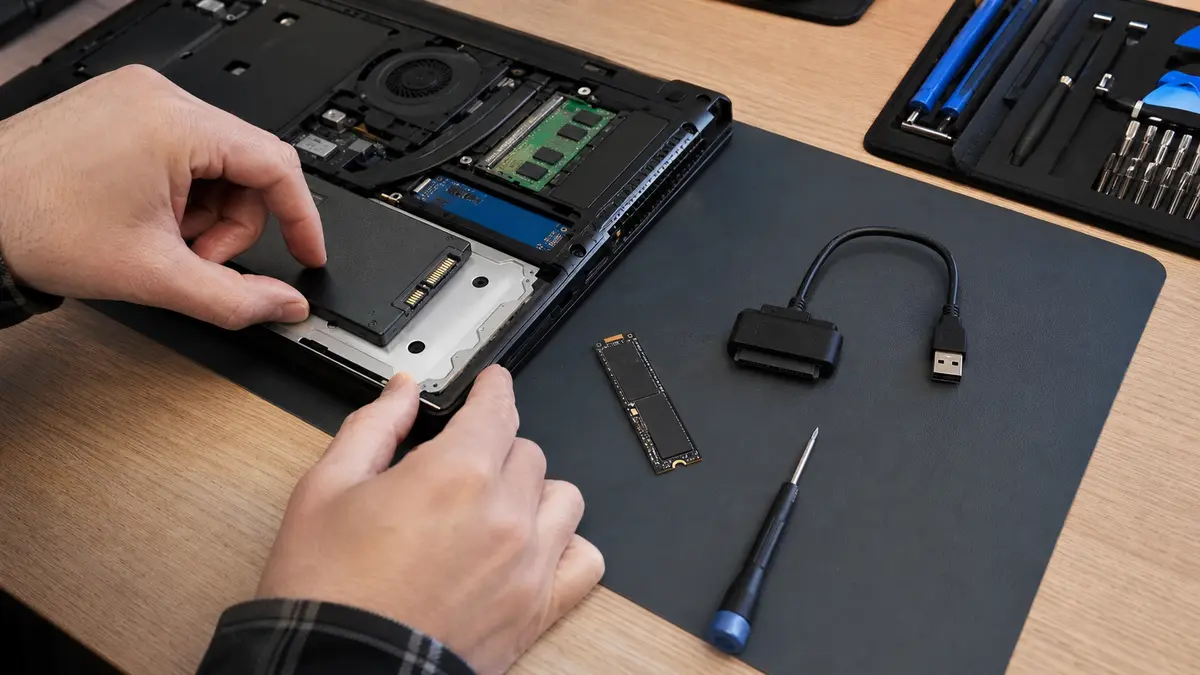
- A new SSD. This could be a standard 2.5-inch SATA drive, M.2 SATA, or M.2 NVMe. These types aren’t always interchangeable.
- A USB adapter or external enclosure. For a 2.5-inch SATA drive, a USB-SATA adapter is enough. For M.2, you need an enclosure that matches the drive type: SATA or NVMe.
- Cloning software. Ideally, a tool from the SSD manufacturer. Macrium Reflect Free used to be a common recommendation, but it’s no longer a standard free option today.
- A screwdriver and patience. For laptops, keep track of the screws by position—they often come in different lengths.
- A backup of important files. Cloning is safe, but a mistake when selecting the drive can overwrite the wrong device.
Step 1: Figure out which SSD to buy
For a desktop PC, the situation is usually straightforward. You almost always have a SATA port and a power connector, so a 2.5-inch SATA SSD will work. Newer motherboards might also have an M.2 slot for a faster NVMe drive.
Laptops are more varied. Older models often have a 2.5-inch bay from the original HDD. Newer thin laptops frequently use only an M.2 drive. Some models have both, while others are difficult to open or have the drive in a hard-to-reach spot.
Before ordering a new drive:
- Find the exact laptop model.
- Search for its service manual or a video like “model disassembly SSD upgrade”.
- Check if it supports 2.5-inch SATA, M.2 SATA, or M.2 NVMe.
- Check how much space is used on your current drive.
- Choose a capacity with some headroom. It’s good practice not to keep an SSD completely full long-term.
For SATA drives, sensible models include the Samsung 870 EVO, Crucial MX500, or Kingston KC600. For NVMe drives, the Samsung EVO/Pro, WD Black, or Crucial P series are common choices. But compatibility with your specific machine always comes first.
Step 2: Clean up your data and make a backup
Cloning transfers everything. Including old installers, empty folders, duplicates, and temporary files you haven’t needed in years. So before cloning, I recommend a bit of cleanup:
- uninstall programs you don’t use,
- empty the recycle bin,
- go through your Downloads folder,
- delete large files you no longer need,
- check that your data will fit on the new SSD.
We have a detailed guide in how to free up disk space in Windows 11.
A backup is your mandatory safety net against mistakes. The cloning software will ask you to select a source disk and a target disk. If you accidentally swap them, you’ll overwrite the wrong drive. That’s why you should keep important documents, photos, and projects stored separately. Ideally, following the 3-2-1 rule.
Step 3: Clone the system to the SSD
Connect the new SSD to your computer via a USB adapter or external enclosure. Windows might show it as an empty disk, or you’ll see it in Disk Management. If there’s any data on it, expect the cloning process to wipe it.
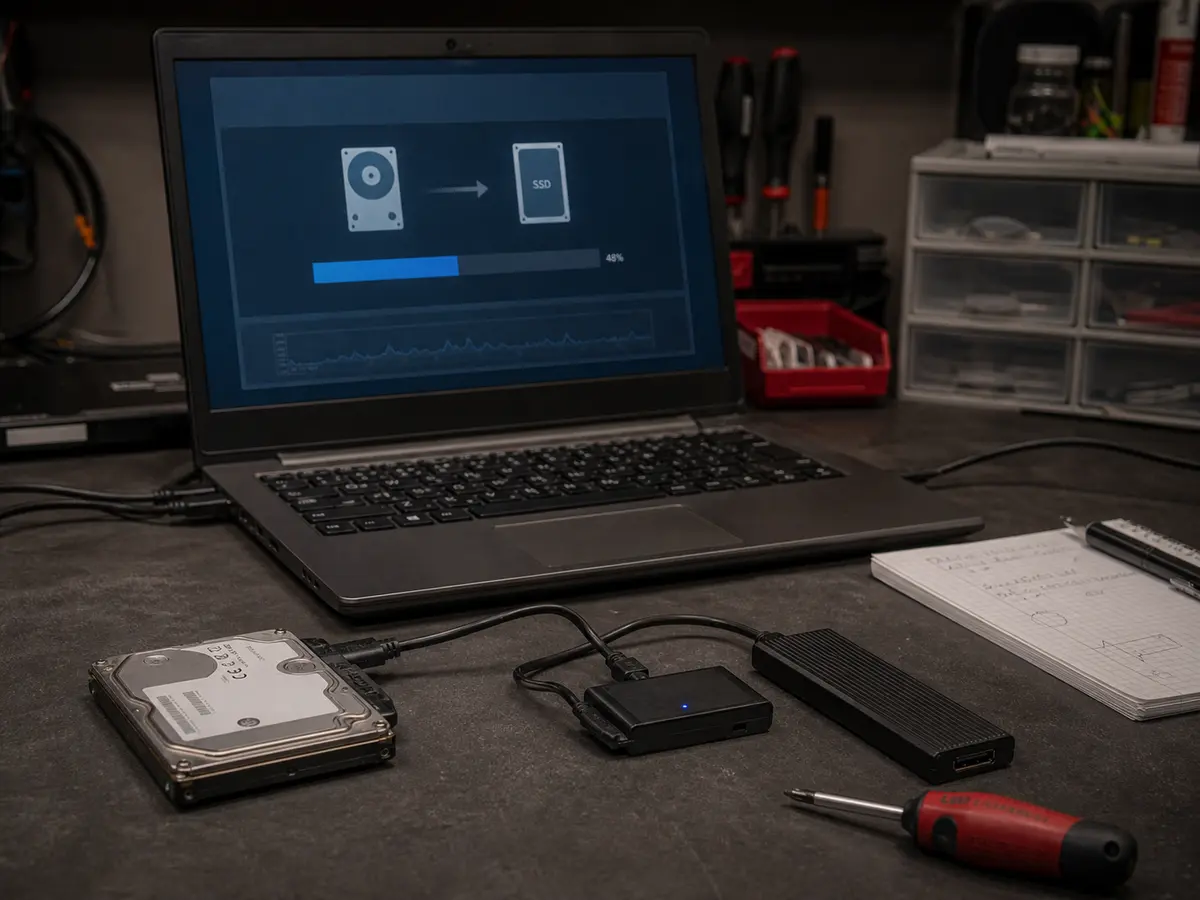
The easiest route is the tool from your SSD manufacturer:
- Samsung has Samsung Data Migration.
- Crucial, Western Digital, and Kingston often provide an edition of Acronis True Image or their own migration tool.
- Some manufacturers’ tools will only run if they detect their SSD in the computer.
A universal alternative is Clonezilla. It’s free and powerful, but not beginner-friendly. It doesn’t have a standard graphical interface, and you need to be very careful when identifying which disk is the source and which is the target.
The core principle is the same everywhere:
- Launch the cloning software.
- Select the original disk as the source.
- Select the new SSD as the target or destination.
- Double-check the capacities and disk names.
- Start the cloning process and keep the computer plugged into power.
Depending on the amount of data, cloning can take anywhere from twenty minutes to several hours. Don’t use the computer unnecessarily during the process.
Step 4: Physically swap the drive
Once the cloning is complete, you have a new SSD with a copy of your original system. Now you need to install it.
For a desktop PC, shut down the computer, unplug the power cable, and press the power button to drain any residual charge. Remove the side panel, place the SSD into a bay or bracket, and connect the SATA data cable and power from the PSU. You can leave the old HDD as a secondary data drive, but only after verifying that the computer actually boots from the new SSD.
For a laptop, shut down the device, unplug the power adapter, and if the design allows, disconnect the battery. Open the bottom cover, remove the original drive, and insert the new SSD. For an M.2 drive, pay attention to the tiny mounting screw and the insertion angle into the slot. Before handling components, touch a metal part of a desk or radiator to discharge static electricity.
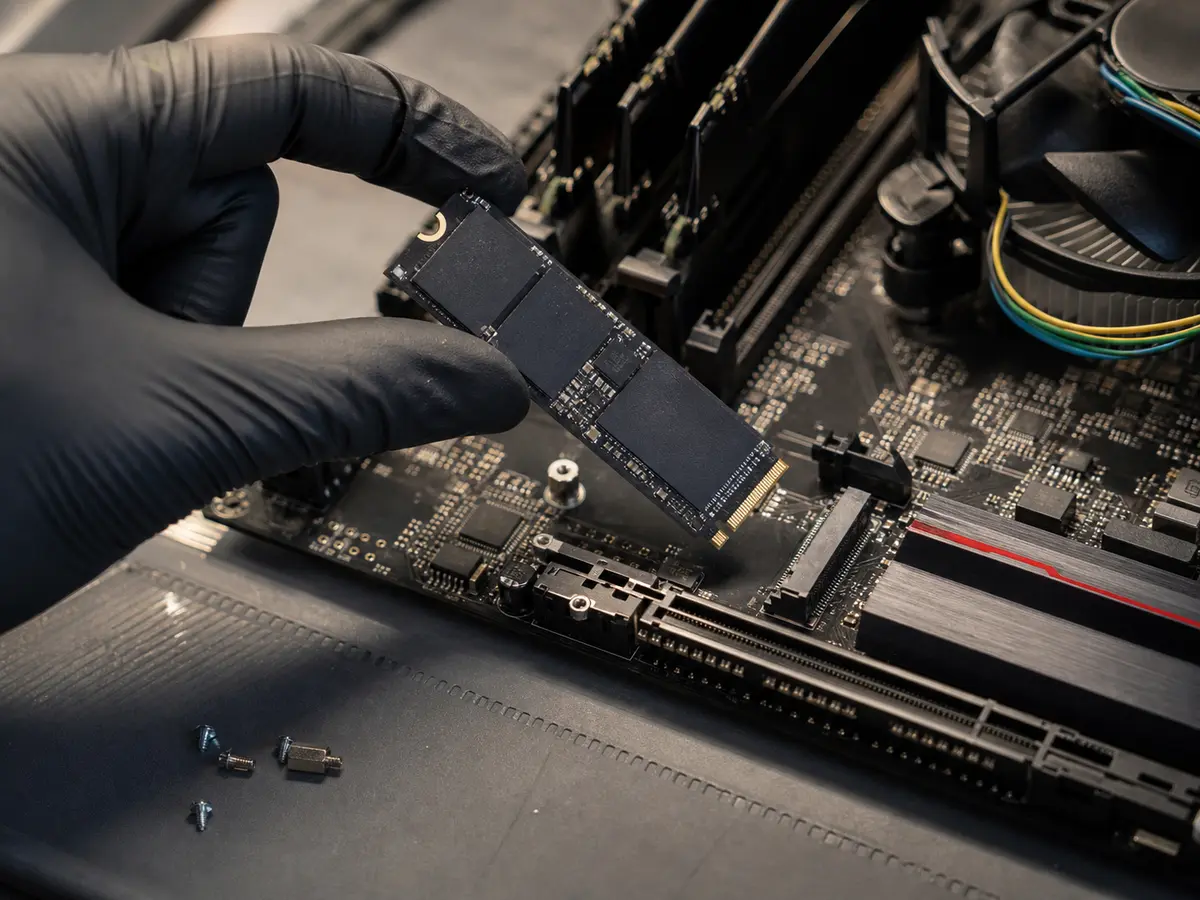
If the laptop is glued shut, has fragile flat cables, or requires you to remove the motherboard to access the drive, it’s better not to attempt this at home for the first time.
Step 5: First boot and verification
After the swap, turn on the computer. If Windows boots and you see your original desktop, the cloning likely went well. If the computer still boots from the old HDD, adjust the boot order in the BIOS/UEFI. You usually enter it by pressing F2, Del, Esc, or F12 during startup.
After the first boot, check the following:
- Drive capacity. If you cloned a smaller disk to a larger one, there might be unallocated space. You can extend the main partition in Disk Management.
- Windows activation. When only swapping the drive, Windows should remain activated, as the digital license is primarily tied to the motherboard.
- TRIM. Open PowerShell or Command Prompt as an administrator and run:
fsutil behavior query DisableDeleteNotify
A value of 0 means TRIM is active. On modern Windows, it enables automatically, so you’re mostly just verifying it.
- Speed and stability. Restart, open your usual programs, and check that nothing crashes.
Don’t wipe the old drive on the first day. Keep it for a few days as an emergency copy. Once you’re confident the new SSD is working, you can use it as an external drive, a data drive, or securely erase it.
When to leave it to a service shop
Swapping a drive and cloning isn’t magic, but it’s not for everyone. A service shop makes sense mainly when:
- you don’t know if your laptop supports SATA or NVMe,
- the laptop is difficult to open,
- you have critical data on the drive and don’t want to risk a mistake,
- the original drive reports SMART errors or bad sectors,
- Windows won’t boot after cloning,
- you want the drive, RAM, and overall computer health tested at the same time.
In Brno, we handle this as an SSD drive replacement: we verify the drive type, make a backup, clone the system, install the SSD, and after booting, check TRIM and Windows activation.
Frequently asked questions
Will I lose data or programs by cloning?
No, as long as you correctly select the source and target. The new SSD will have a copy of the original drive, including Windows, programs, files, and settings. But always make a backup first.
Do I need to reactivate Windows after swapping to an SSD?
Usually not. Swapping the drive doesn’t change the motherboard, which is what the Windows digital license is typically tied to.
Which SSD should I buy?
First, verify the physical type: 2.5-inch SATA, M.2 SATA, or M.2 NVMe. Then choose a capacity based on the used space on your old drive, with at least 20 to 30 percent headroom.
What should I do with the old drive?
Keep it for a few days as an emergency copy. After that, you can put it in a USB enclosure, use it as a data drive, securely erase it, or dispose of it through electronics recycling. Electronics don’t belong in regular trash.
Rather not deal with it yourself?
Book a diagnosis in Brno — you get the price up front and we start only once you agree.
Where to find us
We are a PC and laptop repair shop in Brno-Židenice: diagnostics and repairs of computers and laptops, data recovery from drives, and out-of-warranty Apple repairs (iPhone 12 and newer, MacBook, iPad).
Viniční 3587/216, 615 00 Brno-Židenice, Czech Republic Mon–Fri 10:00–16:00
Call +420 774 777 774 Computer repair and laptop service in Brno
We put the repair price in writing after diagnostics and carry on only once you agree.