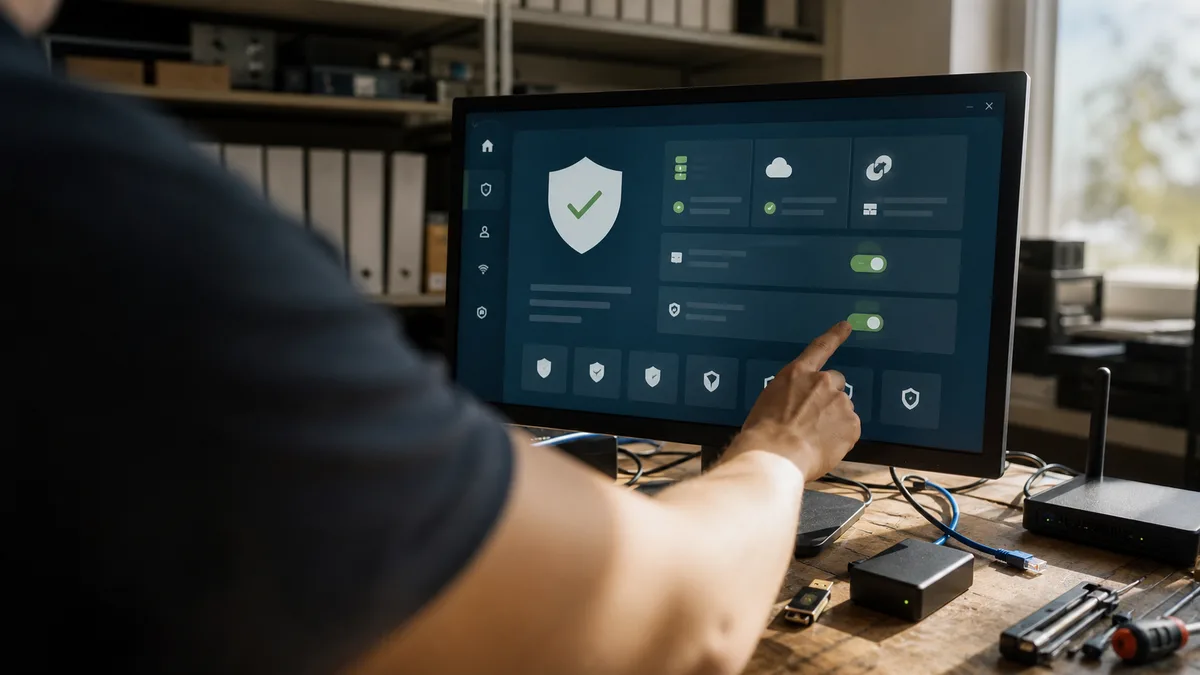
When we take in a computer at our service center, the security checkup almost always yields the same result: Defender is in the system, but it’s configured only halfway. After a long-uninstalled antivirus, real-time protection remains turned off. Ransomware protection is off because Windows doesn’t enable it on its own. And the exclusions list contains the entire Downloads folder based on advice from some forum.
Whether Defender is enough in 2026 and when it makes sense to pay for something else, we discuss in the article Do I Still Need an Antivirus? This text is about something else: you have Windows 11, you’ve decided to stick with Defender, and you want it set up properly. Here is the procedure we click through — with the exact names of the options as you’ll see them on screen.
The immediate answer: Open the Windows Security app and in the Virus & threat protection → Manage settings section, turn on Real-time protection, Cloud-delivered protection, Automatic sample submission, and Tamper Protection. Then, in the Ransomware protection section, turn on Controlled folder access and add your folders with documents and photos. Only add exclusions for a specific, verified file, never for an entire drive. Once a month, run a Full scan and check for green checkmarks everywhere.
Step 1: Verify that Defender is actually running
Press the Windows key, type Windows Security, and open the app. The Security at a glance home screen shows tiles for each protection area. Your main focus is Virus & threat protection — it should have a green checkmark. A yellow exclamation mark means the system needs your attention; click the tile and let it tell you what.
Two typical real-world scenarios:
- You have another antivirus installed. In that case, Defender automatically puts itself to sleep, and you’ll see this in the app. That’s fine — never run two permanently active antivirus programs side by side; they fight over files and slow down the system.
- You uninstalled another antivirus a while ago. Heads up here: sometimes Defender’s protection remains off afterward, and nobody notices. Open Virus & threat protection → Manage settings and check the Real-time protection toggle.
At the bottom of the same page, you’ll also find Protection updates — click Check for updates. Definitions usually download automatically via Windows Update, but for a computer that’s been turned off for months, a manual check is a good first step.
Step 2: Four toggles that should be turned on
In the Virus & threat protection section, scroll down to Virus & threat protection settings and click Manage settings. There are four toggles you care about:
- Real-time protection. The baseline — continuously monitors files and running programs, not just during a manual scan. Without it, Defender is just an on-demand scanner.
- Cloud-delivered protection. Compares suspicious files against Microsoft’s database, enabling it to react to threats so fresh they aren’t in local definitions yet. It needs internet — which isn’t a limitation for a normally used computer.
- Automatic sample submission. A supplement to cloud protection: sends suspicious files for analysis. If a file likely contains personal data, the system asks before sending. It can be turned off separately, but cloud protection then has less data and responds less effectively — we recommend leaving it on.
- Tamper Protection. Prevents malicious programs or apps from turning off protection without your knowledge. This is exactly an attacker’s first step, so always leave this toggle on.
If any toggle is grayed out with a message that a setting is managed by an administrator, there are two possibilities. On a work computer, this is intentional — the company manages settings. On a home computer, this is a reason to be alert: the setting could have been locked by some “Windows optimizer” or, worse, malware, and that’s a situation needing investigation.
Step 3: Turn on ransomware protection
This is the most crucial step of the entire article because Windows won’t do it for you. Controlled folder access is turned off by default.
Procedure: Virus & threat protection → scroll down to Ransomware protection → Manage ransomware protection → toggle Controlled folder access to On.
What this feature does: it blocks unknown applications from writing to protected folders. When ransomware tries to overwrite documents with an encrypted version, it can’t access the protected folder. System folders like Documents or Pictures are protected by default; click Protected folders and add anything you keep elsewhere — work data on a second drive, a folder with invoices, a family photo archive.
And now the part why Microsoft leaves the feature off: it occasionally blocks even a legitimate program. Typically, older accounting software or a program that saves data directly into Documents. The solution isn’t to turn the feature off, but to allow the program:
- Open Block history and look at what exactly was blocked.
- If it’s your program, click Allow an app through Controlled folder access and add it.
Practical advice: turn the feature on when you have a few days to monitor it. For the first few days, you’ll be adding allowances; after that, it’s quiet. And one extra warning — controlled access is a safety net, not a backup. What will truly save you against ransomware is a data copy the attacker can’t reach; how to build one is described in the 3-2-1 Backup Rule.
Step 4: Scheduled Scans
Defender checks files continuously and runs quick scans during automatic maintenance — meaning at times when the computer is running and you’re not using it. For a desktop PC that runs all day, this works on its own. For a laptop you open for an hour and then shut, a scheduled scan may never get a chance to run.
What to do about it:
- Manually run a deep scan once a month. In the Virus & threat protection section, click Scan options and select Full scan. It goes through the entire disk, so it can run for several hours — start it when you’re not working with the computer and leave the laptop on AC power. A Quick scan is meanwhile sufficient for routine regular checks.
- Want a fixed schedule? Use the Task Scheduler: in the Task Scheduler Library, expand Microsoft → Windows → Windows Defender and open the Windows Defender Scheduled Scan task. In its properties, on the Triggers tab, add a new trigger — for example, every week at a time when the computer is definitely running. The task exists even without this, but without its own trigger, it only runs based on automatic maintenance.
Step 5: Exclusions — when yes, when no
At the very bottom of Manage settings, you’ll find Add or remove exclusions. Before you add anything, a sentence to remember: an exclusion means Defender stops checking that location entirely. Not less strictly — not at all.
When an exclusion makes sense:
- For a verified false positive — Defender repeatedly blocks a program you know for certain where it’s from and what it does. Typically developer tools or specialized corporate software.
- Even then, the rule is: the narrowest scope possible. A specific file or a specific folder. Never an entire drive, never Downloads, never the entire Documents folder.
When an exclusion is a warning sign:
- When an installer for a downloaded program demands it (“turn off antivirus and add an exclusion before installing”). For software from an unofficial source, this is a classic trap.
- When a forum guide advises it without explaining why Defender blocks the file. It might be blocking it for good reason.
- When you don’t recognize exclusions in the list. Malware and remote attackers add exclusions themselves — that’s precisely why Tamper Protection exists. Review the exclusions list during your monthly check and remove anything you don’t recognize.
If you are unsure about a blocked file, leave it in quarantine and get a second opinion before reaching for an exclusion. How to do that, we describe in the article Do I Have a Virus on My Computer? — it’s also useful when your computer is acting strangely already; setting up protection on a possibly infected machine is like building a fence around a burglarized house.
Step 6: A one-minute check once a month
Configuration isn’t a one-time event. Once a month, open Windows Security and review:
- the home screen overview — green checkmarks everywhere,
- the date of the last scan in Virus & threat protection — it should be recent,
- Protection history — what Defender blocked over the past month and whether you understand it,
- Protection updates — definitions must not be weeks old,
- the exclusions list and the status of Controlled folder access — nothing added, nothing turned off.
It all takes about a minute and reveals exactly those silent conditions that otherwise only surface when it’s on our service bench.
What even a well-configured Defender still can’t do
No matter how good the setup, boundaries exist, and it’s fair to know them:
- Phishing outside the Microsoft browser. The SmartScreen filter provides full protection mainly in Edge; in Chrome or Firefox, you’re relying on the browser’s own protection. Moreover, a fraudulent page where you type the password yourself won’t be caught by any antivirus.
- Phone scams. A caller “from the bank” or “from Microsoft” navigating you to install remote access won’t trigger any detection — from the system’s perspective, you’re doing everything yourself. How to recognize these calls, we describe in the article Call from the Bank? It’s a Scam.
- Your own confirmation. A dismissed warning, a confirmed payment, a dictated verification code — the antivirus stands aside there.
- An outdated system and recycled passwords. Defender doesn’t patch holes in Windows and can’t save an account whose password you use in ten places.
Defender is one layer. Updates, backups, and healthy distrust are the others — and without them, even a perfectly configured antivirus is just a good feeling.
Don’t feel like doing it? We’ll set it up with you
The entire procedure above is about twenty minutes of clicking and is manageable on your own. But if you don’t feel like it, you’re unsure what exclusions you have on your computer, or you want certainty for your backups and accounts as well, we’ll do it for you: we’ll go through the Defender status, exclusions, updates, backups, and two-factor authentication for important accounts and leave your computer in a state that makes sense — without selling you boxes you don’t need. Just pick a time slot in the order form, or call +420 774 777 774 and we’ll arrange it over the phone. For businesses with multiple computers, it makes sense to go through the machines all at once and configure them identically.